This post may contain affiliate links. If you book or buy through them, I may earn a small commission at no extra cost to you. Learn more.
I don’t own a food processor. I used to think that was the thing standing between me and a good pie, and then one September I ran out of patience with the idea, put a bowl on the counter, and made an all butter pie crust with my hands. It was better than anything I’d bought. It has been my recipe ever since.
This is the crust I make for apple pie in the fall, for quiche in the winter, and for the hand pies I throw together when there’s half a jar of something in the fridge that needs using. It’s five ingredients. It takes about fifteen minutes of actual work, and most of that is standing at the counter cutting butter into flour while Lochlan bangs a wooden spoon on the floor behind me and Dewey waits underneath for something to drop.
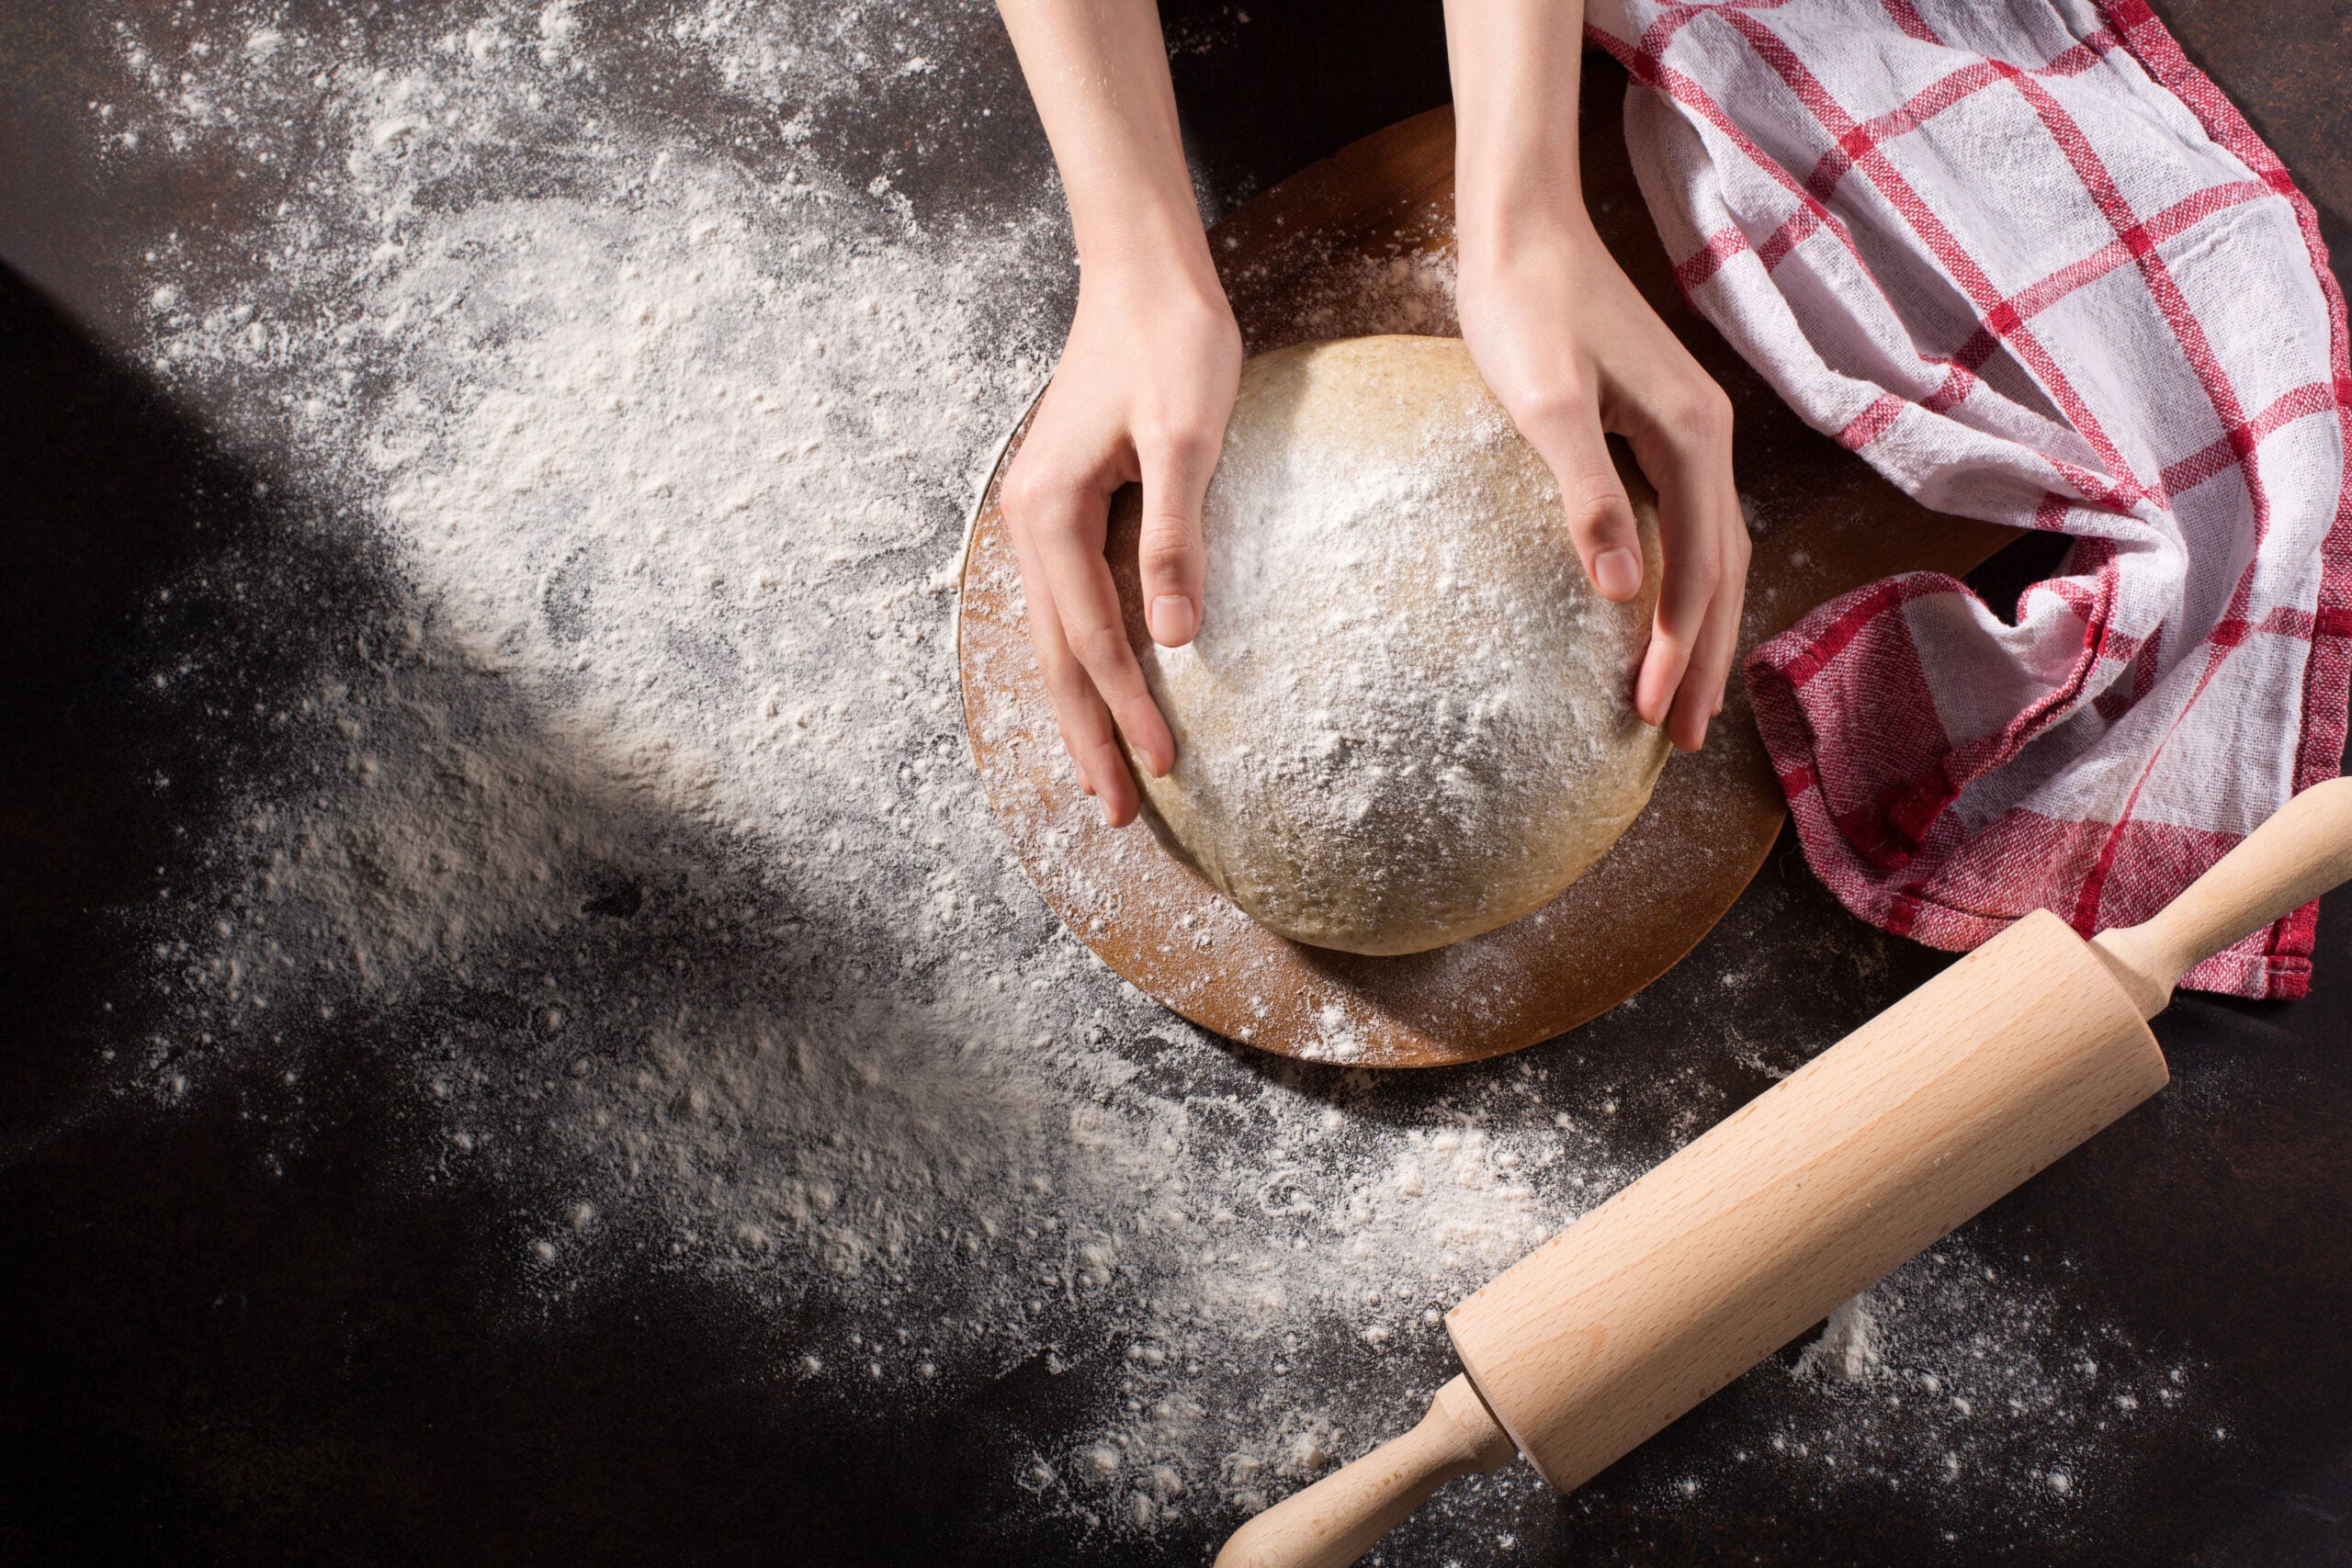
The short version
Two and a half cups of flour, a teaspoon of salt, a tablespoon of sugar, two sticks of very cold butter cut into cubes, and six to eight tablespoons of ice water. Cut the butter into the dry ingredients until the biggest pieces are the size of a pea and some are flatter, like little coins. Add the water one tablespoon at a time until the dough holds together when you squeeze it. Split it in two, flatten each half into a disc, wrap it, and chill it for at least an hour. That’s the whole thing.
Makes two crusts, which is one double crust pie or two single crust pies. I always make the full batch even when I only need one, because the second disc goes in the freezer and future me is grateful.
What actually goes in it
Flour. Plain all purpose. I’ve tried pastry flour and I could not tell you the difference in the finished pie, so I stopped buying it.
Butter, and only butter. Shortening makes a crust that’s easier to handle and tastes like nothing. Butter is harder to work with and tastes like butter. I’d rather fight the dough a little and eat something good. Use unsalted if you have it, and use it COLD. I cube mine and put the cubes back in the fridge while I measure everything else.
Salt. A full teaspoon. Under-salted pie crust is the reason a lot of homemade pie tastes flat.
Sugar. Just a tablespoon. Not for sweetness, for browning. Skip it if you’re making something savory.
Ice water. Actual ice in the measuring cup, not cold tap water. The whole point is keeping the butter solid until it hits the oven.
How I make it by hand
Whisk the flour, salt and sugar together in a wide bowl. Wide matters more than deep here, because you want room to work.
Scatter the cold butter cubes over the top and toss them in the flour so they’re coated. Then cut the butter in with a pastry blender, pressing down and rocking, scraping the blades clear on the side of the bowl when they clog. If you don’t have a pastry blender, two butter knives work, and so do your fingertips as long as you move fast and don’t let your hands warm the butter.
Stop when you have a mix of sizes. Some pieces like peas, some flattened into sheets, plenty of loose shaggy flour. Those flat pieces are the ones that turn into layers. If you blend until it looks even and sandy, you’ve gone too far, and you’ll get a crumbly crust instead of a flaky one.
Now add water, one tablespoon at a time, tossing with a fork after each one. It will look far too dry for longer than you’re comfortable with. Keep going. The test is to squeeze a handful: if it holds its shape instead of falling apart, you’re there. For me that’s usually seven tablespoons, but it changes with the weather. In August I need less. In January I need more.
Dump it onto the counter, press it together with the heel of your hand a few times, and split it in half. Flatten each half into a disc about an inch thick, wrap it tight, and put it in the fridge for an hour minimum. Overnight is better.
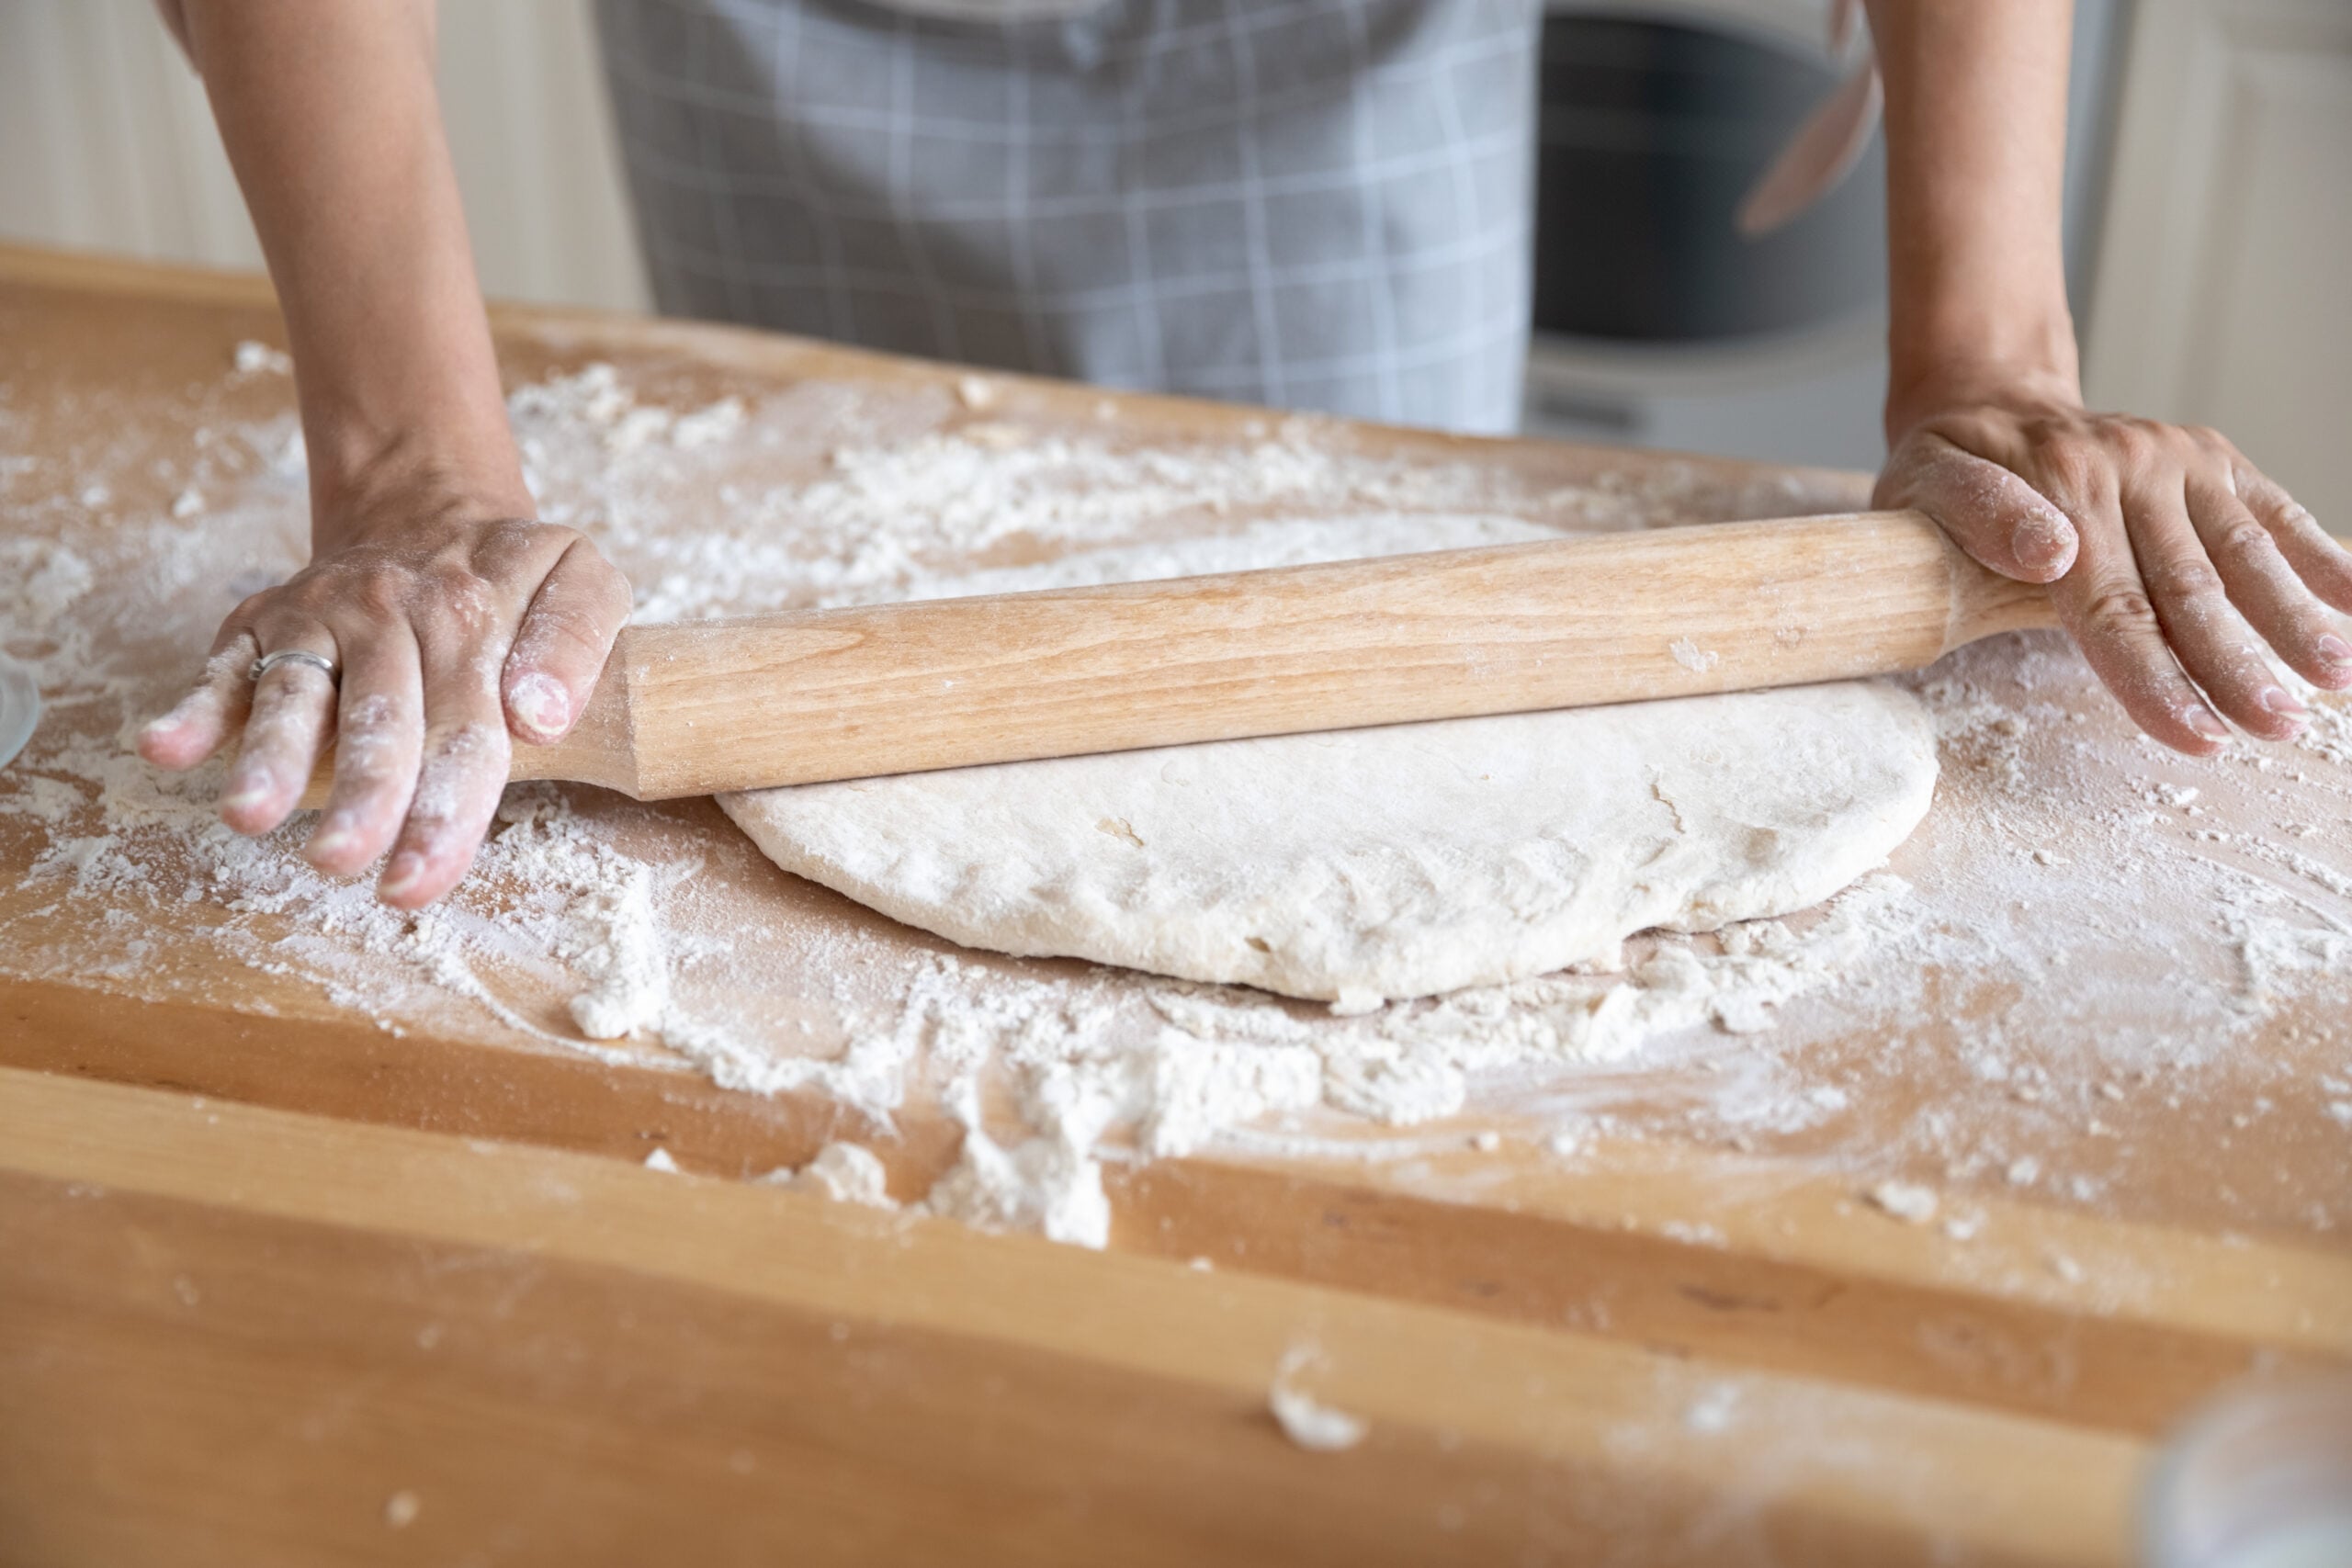
When you roll it, work from the center out and turn the disc a quarter turn after every few passes. That keeps it round and keeps it from sticking. If the dough cracks at the edges it needs another few minutes to soften. If it’s sticky and smearing, it needs to go back in the fridge. Both problems are temperature, not technique.
The three things that ruin it
Warm butter. This is the big one. Every flaky layer in a good crust is a piece of butter that stayed solid long enough to hit the oven and turn to steam. If the butter softens and blends into the flour, there’s nothing left to make the layers. On a hot day I chill the bowl and the pastry blender first.
Too much water. Water develops gluten, and gluten makes crust tough. Add it slowly and stop as soon as the dough holds together, even if it still looks scrappy.
Rushing the chill. An hour in the fridge lets the flour finish absorbing the water and lets the butter firm back up. If you roll it warm, it shrinks in the oven and slumps down the sides of the pan. I know this because I’ve done it, usually on a day when I planned badly and wanted pie anyway.
The honest note here is that I do most of this in stages now. I have an autoimmune disease, and on a low energy day standing at the counter for forty-five minutes straight is not happening. So I’ll make the dough in the morning while Lochie is playing, leave it in the fridge, and roll it out that evening or the next day. The recipe does not care. It’s actually better for the waiting.
Make it ahead and freeze it
This is the part that changed pie for me. Unbaked pie dough freezes beautifully, and there are two ways to do it.
As discs: wrap each flattened disc in plastic, then in foil or a freezer bag, and freeze for up to three months. Thaw overnight in the fridge before rolling.
Or rolled and fitted: roll the dough out, fit it into the pie plate, crimp the edge, and freeze the whole plate. Once it’s solid, wrap it. This is the better option, because a frozen fitted crust goes straight into the oven without thawing, and it holds its shape better than one that’s been thawed and handled again.
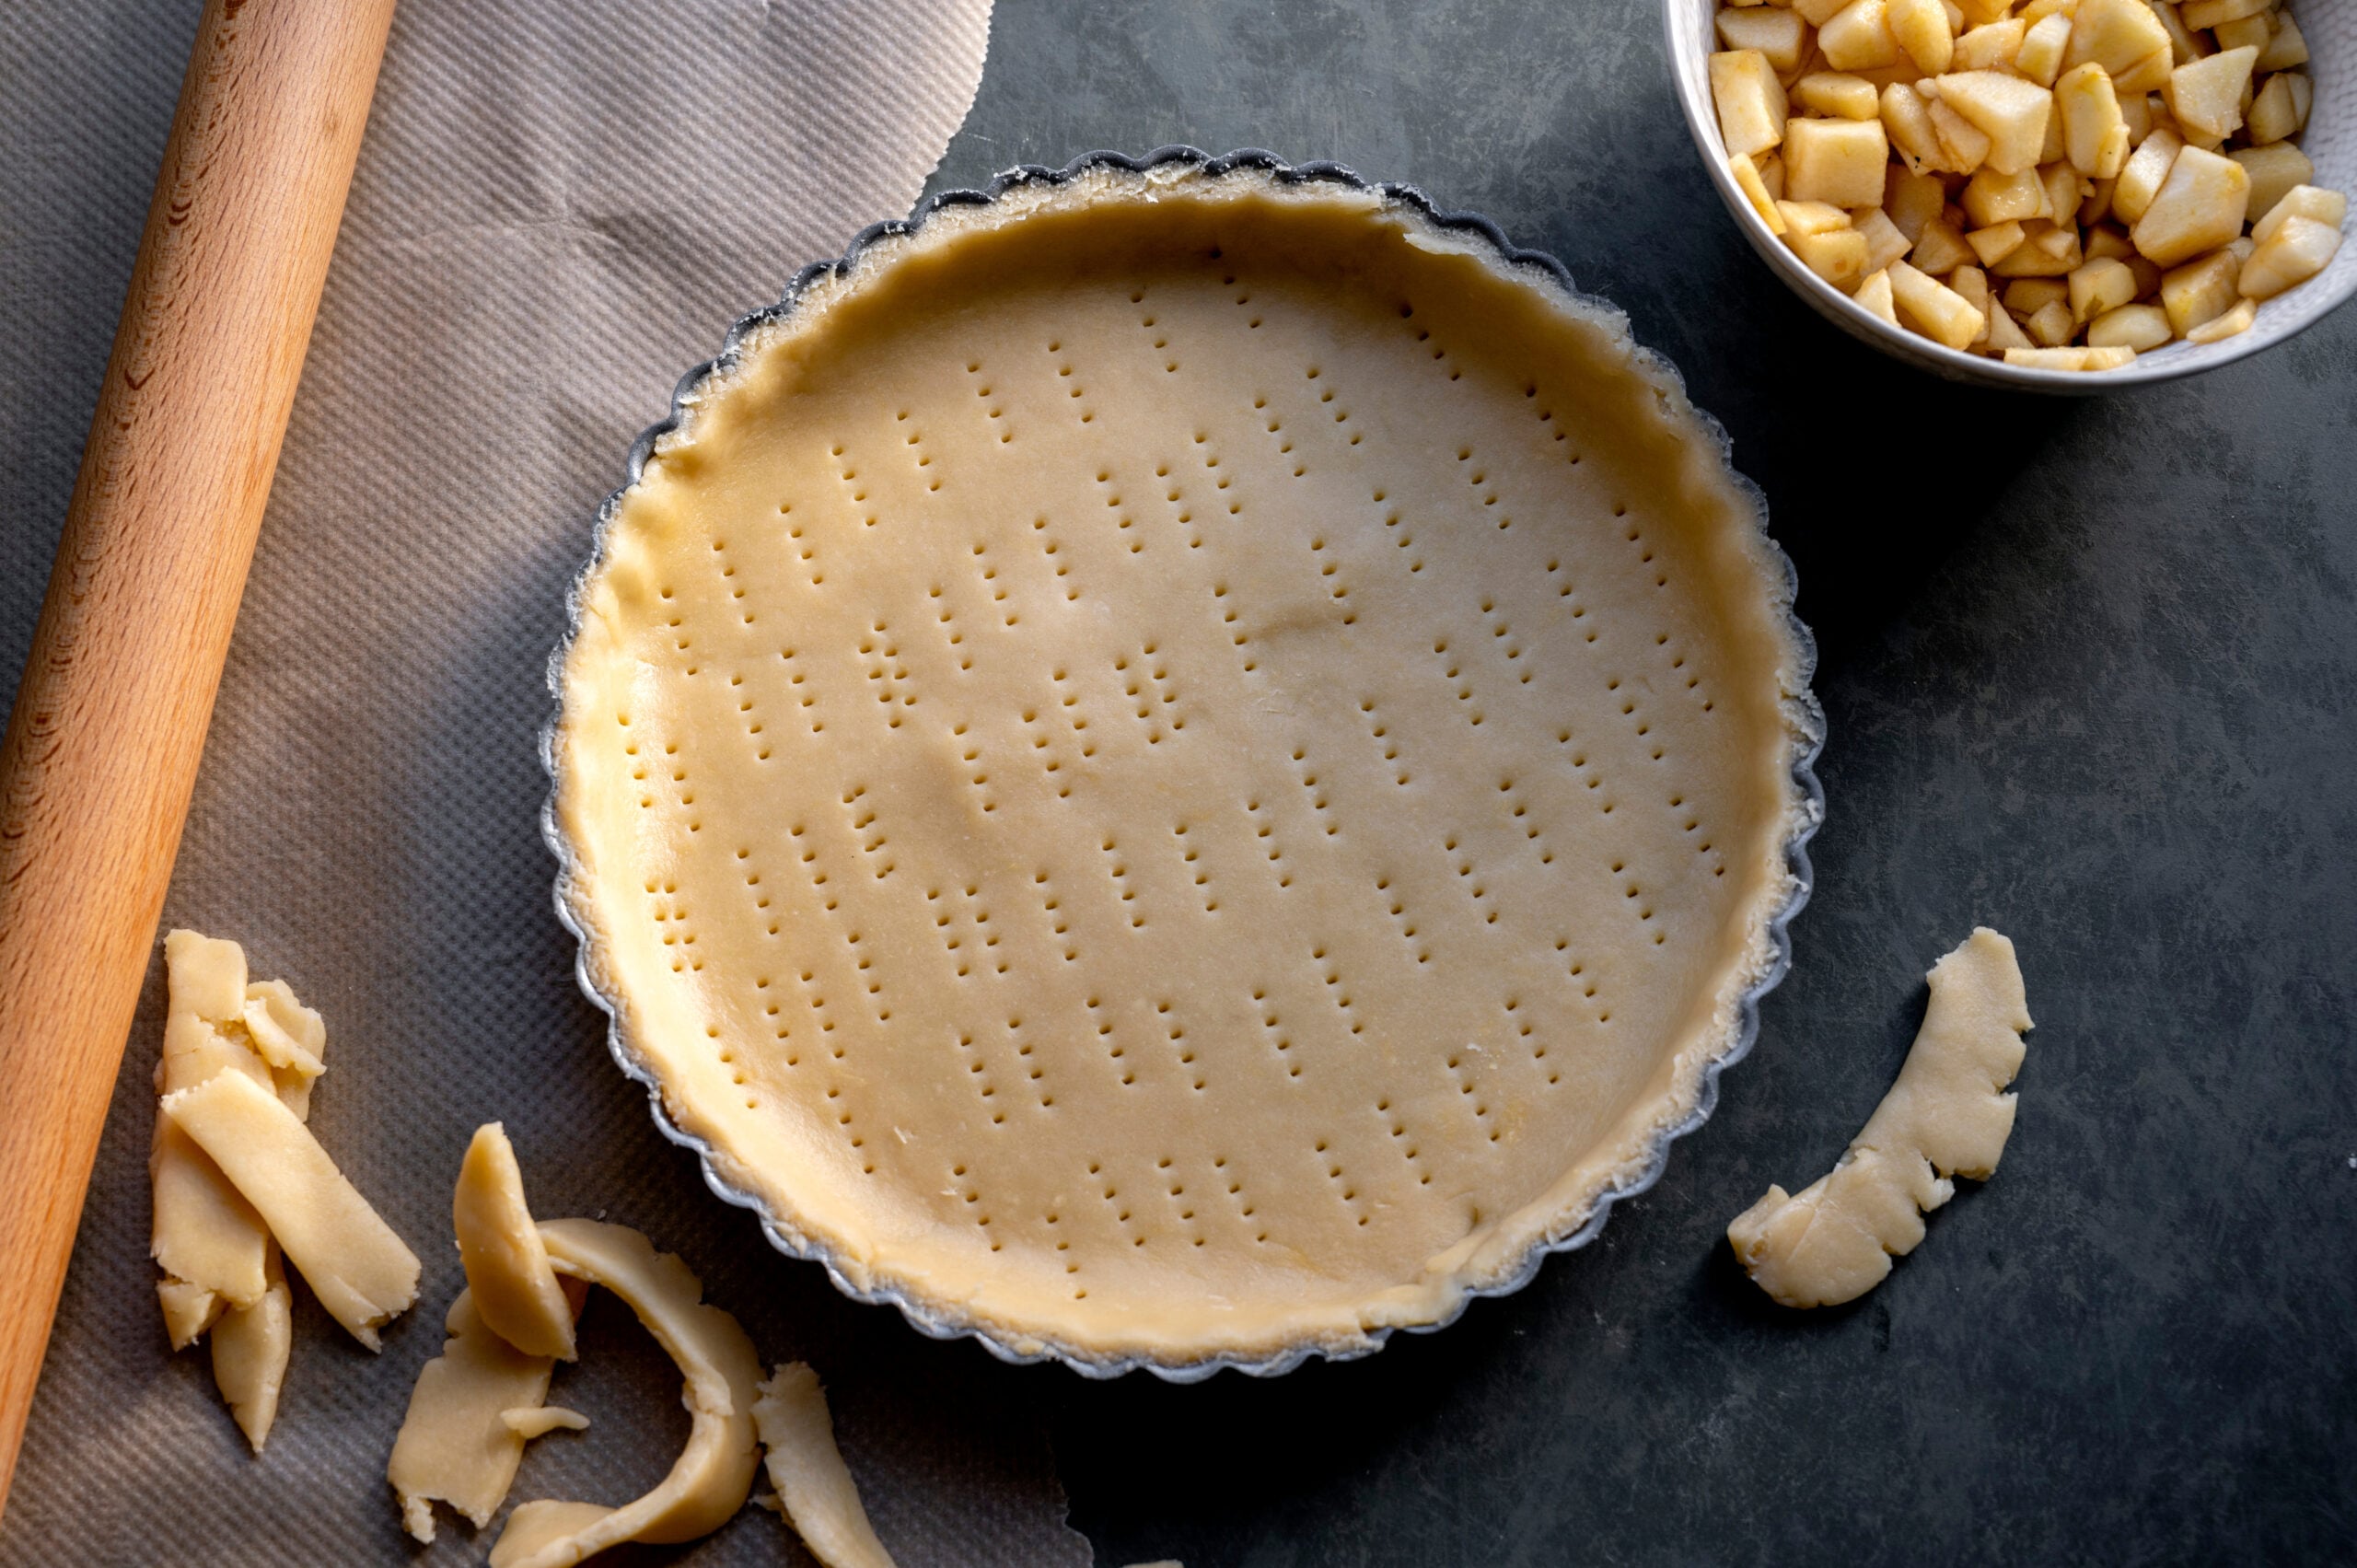
In September I do a batch of crusts at the same time I put up the freezer apple pie filling I make every fall, and then a pie in November is just a matter of opening the freezer twice. It’s the same logic as the from-scratch freezer meals I keep stocked. Do the work once, on a day you have it in you, so that the day you don’t have it in you is still a day you can feed people well.
🛒 A few things I use for this
- A sturdy pastry blender. The flimsy ones bend when the butter is properly cold, which is exactly when you need it to work.
- A tapered wooden rolling pin. No handles, no bearings, nothing to break. I like feeling the dough through it.
- A glass pie plate. Being able to see whether the bottom is actually browned is worth more than any other pie tool I own.
- A bench scraper. For lifting the rolled dough and for cleaning the counter after, which takes about four seconds with one and four minutes without.
As an Amazon Associate I earn from qualifying purchases.
Questions I get about pie crust
Can I really make this without a food processor?
Yes, and I’d argue by hand is easier to get right. A food processor goes from butter chunks to sandy paste in about two pulses, and you can’t see it happening. By hand you watch the butter the entire time and stop exactly when you want to.
Why is my pie crust tough instead of flaky?
Almost always too much water, or too much working of the dough after the water went in. Press it together just enough to hold, and leave it alone.
Do I need to blind bake?
For a wet filling like pumpkin or custard, yes, or the bottom stays pale and soft. For a fruit pie that bakes a long time, no. If you’re blind baking, line the frozen crust with parchment, fill it with dried beans, and bake at 400 until the edges are set. It’s what I do when I’m using my own pumpkin puree.
Can I use salted butter?
You can. Cut the added salt back to half a teaspoon.
How long does the dough keep in the fridge?
Three days, well wrapped. After that the surface starts to grey, which is harmless but unpleasant to look at. Past three days, freeze it.
What else do I do with the scraps?
Roll them out, brush with butter, sprinkle with cinnamon sugar, cut in strips and bake until golden. That’s been a kitchen habit for me for years. They’re also good with a spoonful of slow cooker apple butter rolled inside.
The first crust I made by hand was not pretty. It tore when I moved it, I patched it with my fingers, and the crimping was uneven all the way around. It still came out of the oven golden and shattering and gone by the next morning. Pie is forgiving like that. Start with cold butter and give it time in the fridge, and the rest will sort itself out.

