This post may contain affiliate links. If you book or buy through them, I may earn a small commission at no extra cost to you. Learn more.
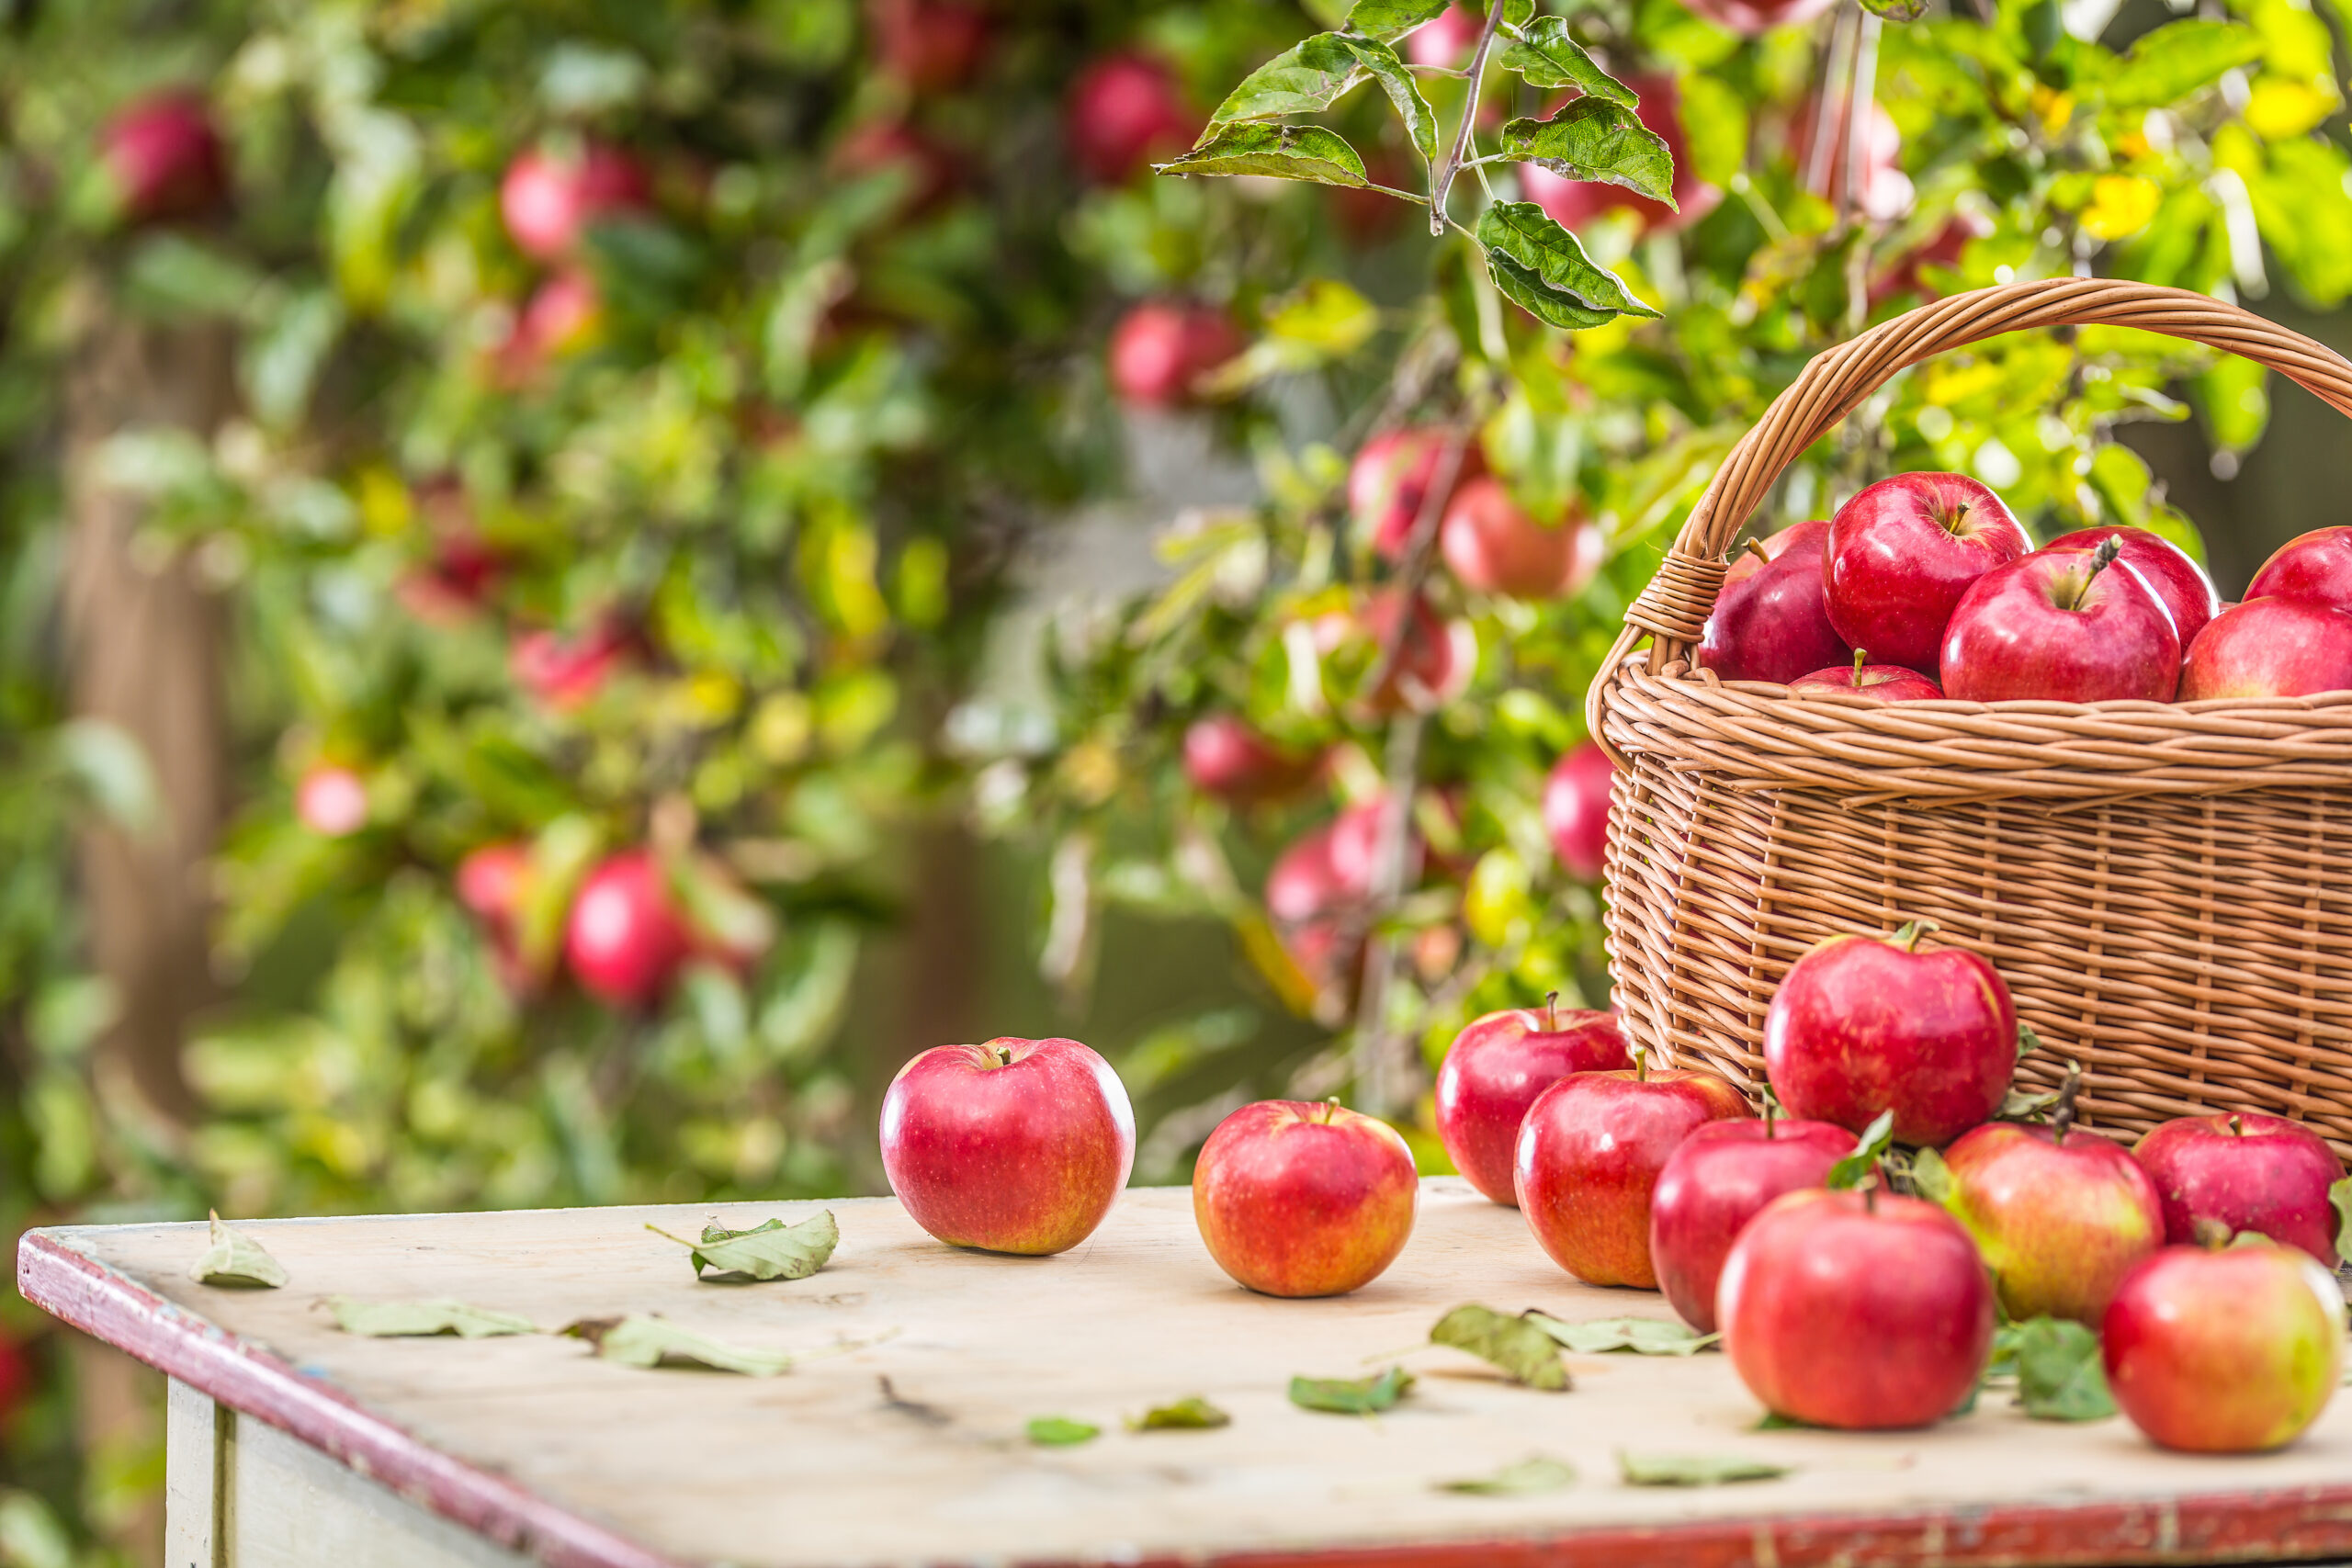
Apple Fest is in town this weekend, which means Long Grove is about to smell like cider donuts for three straight days. It also means we have more apples in this house than four people could eat, except there are only three of us and one of us is nineteen months old and mostly eats the peels.
So I make freezer apple pie filling. It is the single most useful thing I do with apples all year. Not because it is clever, but because in January, when it is dark at four in the afternoon and I have no energy to peel anything, I can pull a bag out of the freezer and have a pie in the oven in ten minutes. Past me did the hard part. Present me just turns on the oven.
The short version
You cook a thickened, spiced syrup on the stove, stir the sliced apples in just long enough to soften their edges, cool the whole thing down, and freeze it in pie-sized portions. That is the entire thing. The filling keeps about a year in the freezer, though ours never makes it past March.
The part most recipes skip: this method is for freezing, not canning. Cornstarch is perfectly safe in the freezer. It is not safe as a thickener in a water bath canner, where the only tested option is ClearJel. I freeze mine, so cornstarch is what I use. If you want shelf-stable jars, that is a different recipe with different rules, and I would not want you to learn that from me in a footnote.
What goes in it
This makes enough for three 9-inch pies, or two pies and a big crisp. It is a manageable afternoon. If you have a bushel to get through, double it and do the second batch the next day.
- 8 pounds apples (about 20 medium), peeled, cored, sliced thick
- 3 cups apple cider or water
- 1 cup granulated sugar
- 1/4 cup brown sugar
- 1/2 cup cornstarch
- 2 teaspoons cinnamon
- 1/4 teaspoon freshly grated nutmeg
- 1/2 teaspoon salt
- 3 tablespoons lemon juice
On apples: use firm ones. Honeycrisp, Granny Smith, Braeburn, Jonagold, or a mix. Softer apples like McIntosh fall apart into something closer to sauce, which is great if that is what you wanted, and frustrating if you were expecting slices. I sort as I go. The firm ones become filling, and the soft and bruised ones go into a pot for no-sugar applesauce or into the slow cooker for apple butter. Nothing gets thrown out.
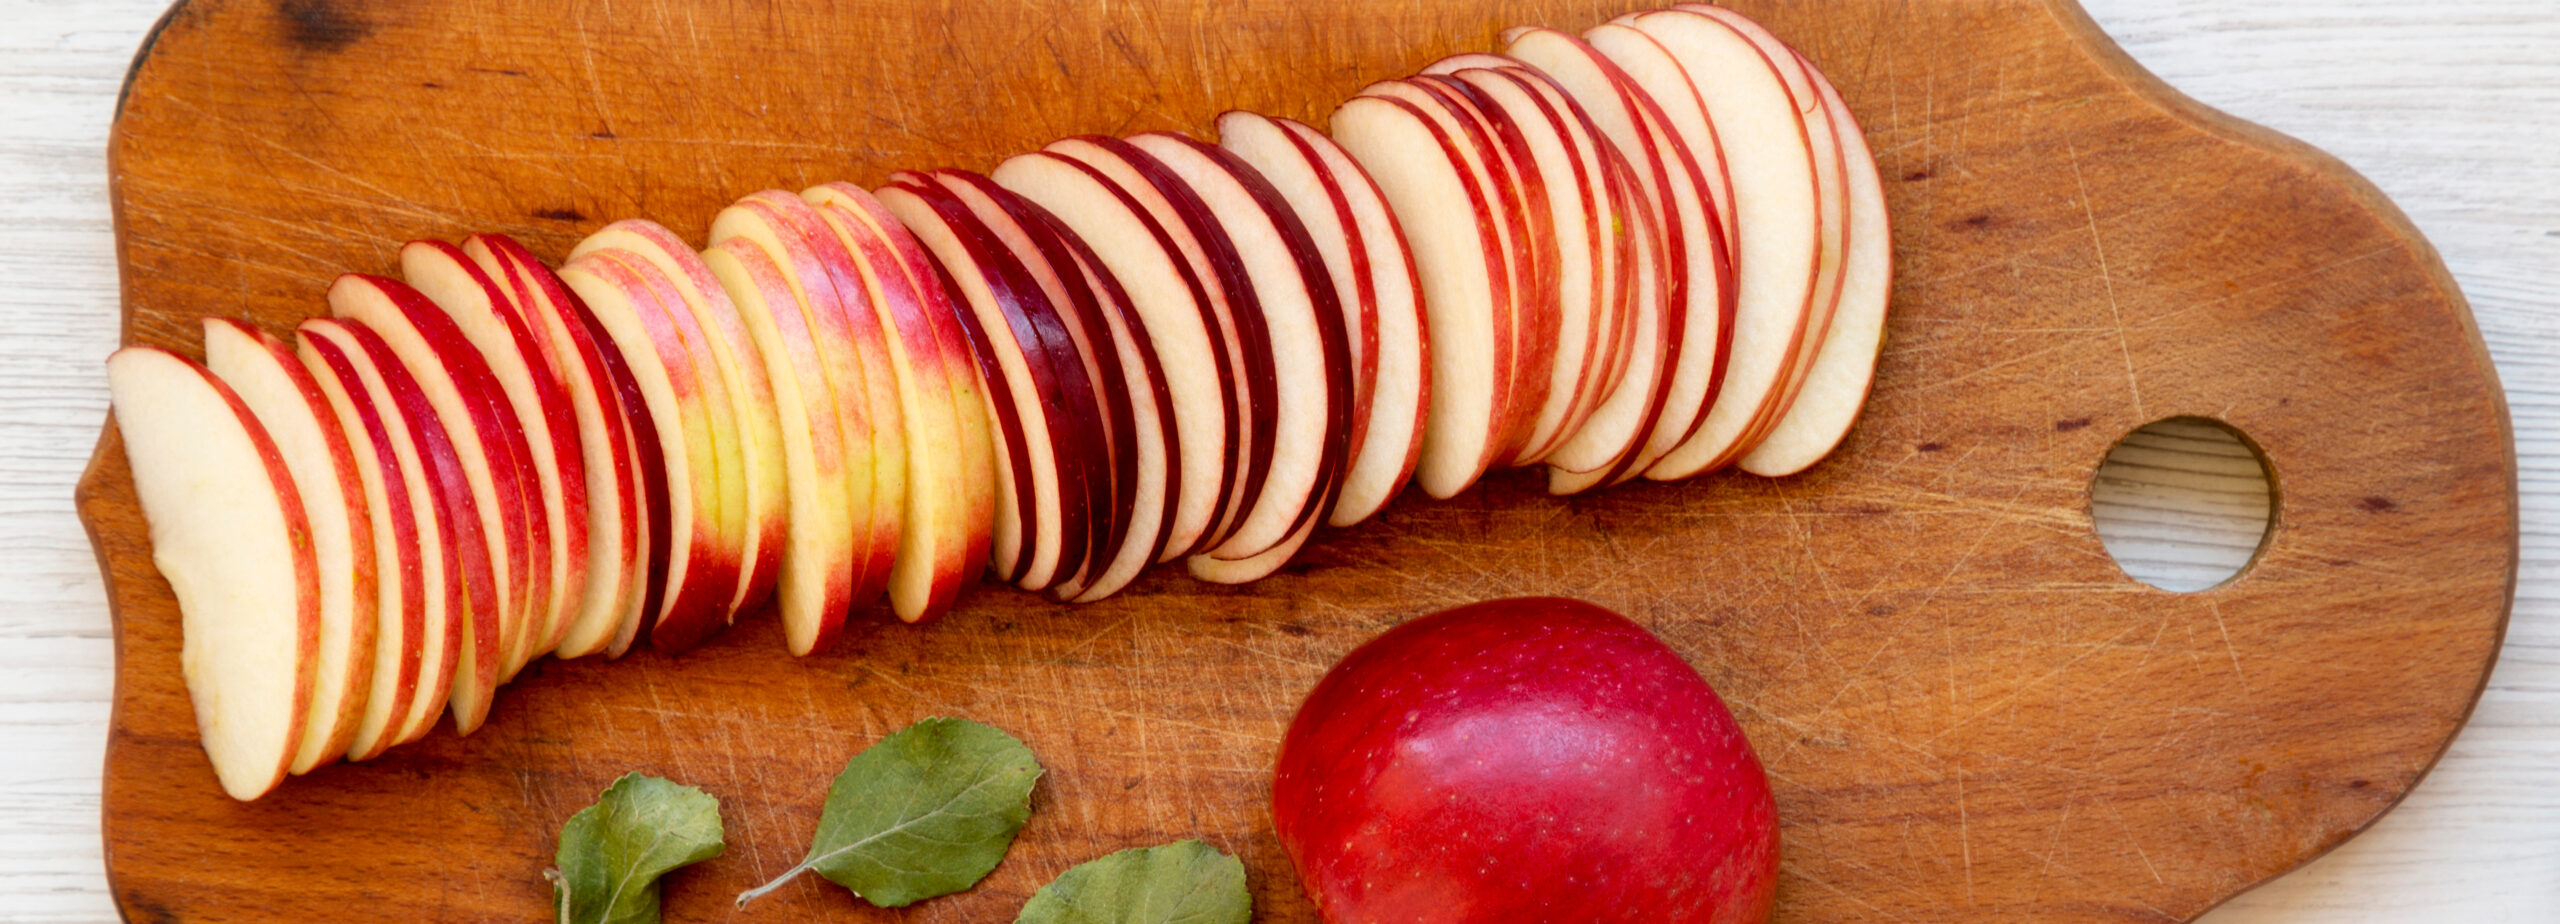
Slice thicker than feels right. About half an inch. Thin slices disappear in the pie and you end up with something closer to jam between two crusts.
🛒 A few things I use for this
- A crank apple peeler corer slicer. This is the one tool that makes the difference between a nice afternoon and a sore wrist. Mine clamps to the counter and Danny does twenty pounds in the time it takes me to make coffee.
- A big enameled Dutch oven, at least 7 quarts. Eight pounds of apples takes up more room than you think.
- Gallon freezer bags. Not storage bags. The thicker freezer ones, or you will be scraping ice crystals off your filling in February.
- Disposable foil pie pans for the freeze-into-a-disc method below.
- ClearJel, only if you plan to can rather than freeze.
As an Amazon Associate I earn from qualifying purchases.
How I make it
1. Peel and slice the apples. Toss them with the lemon juice in a big bowl as you go so they do not brown while you work. This is the long part. I do it at the kitchen table with the back door open, and Dewey sits under my chair waiting for a piece to fall, which it always does.
2. Build the syrup. Whisk the sugars, cornstarch, cinnamon, nutmeg and salt together in your Dutch oven while it is still cold and dry. Then pour in the cider and whisk again until there are no lumps. Starting cold is the whole trick. If you dump cornstarch into hot liquid you get little gluey pebbles that never dissolve.
3. Cook it until it thickens. Medium heat, stirring more or less constantly, about 5 to 7 minutes. It will go from cloudy to glossy and start to bubble. Keep it at a gentle bubble, not a hard boil. Cornstarch thins out again if you boil it aggressively, and then you have a runny pie and no idea why.
4. Add the apples. Stir them in and cook 6 to 8 minutes, just until the edges soften and the slices lose their squeak. They should still hold their shape completely. This is where most people go too far. The apples cook again in the pie, and if you cook them soft now, you get applesauce pie later.
5. Cool it all the way down. Off the heat, uncovered, until it is room temperature. An hour, give or take. I usually spread it across two sheet pans to speed it up, because I am impatient and because warm filling in a freezer bag makes everything around it soft.
How I freeze it, and how I use it later
There are two ways, and I do both.
Flat in bags. Five to six cups per gallon freezer bag, which is one pie. Press the air out, lay it flat on a sheet pan, freeze it solid, then stand the frozen slabs up in a bin like files. They take almost no room this way. Label them, because frozen apple filling and frozen garden tomato sauce look identical at six in the morning.
Frozen into a disc. Line a foil pie pan with plastic wrap, fill it, freeze it solid, then lift the frozen disc out and bag it. In December you peel off the wrap, drop the disc straight into a raw crust, put the top crust on, and bake. No thawing, no measuring, no bowl to wash. This is the one that feels like a small miracle when you are tired.
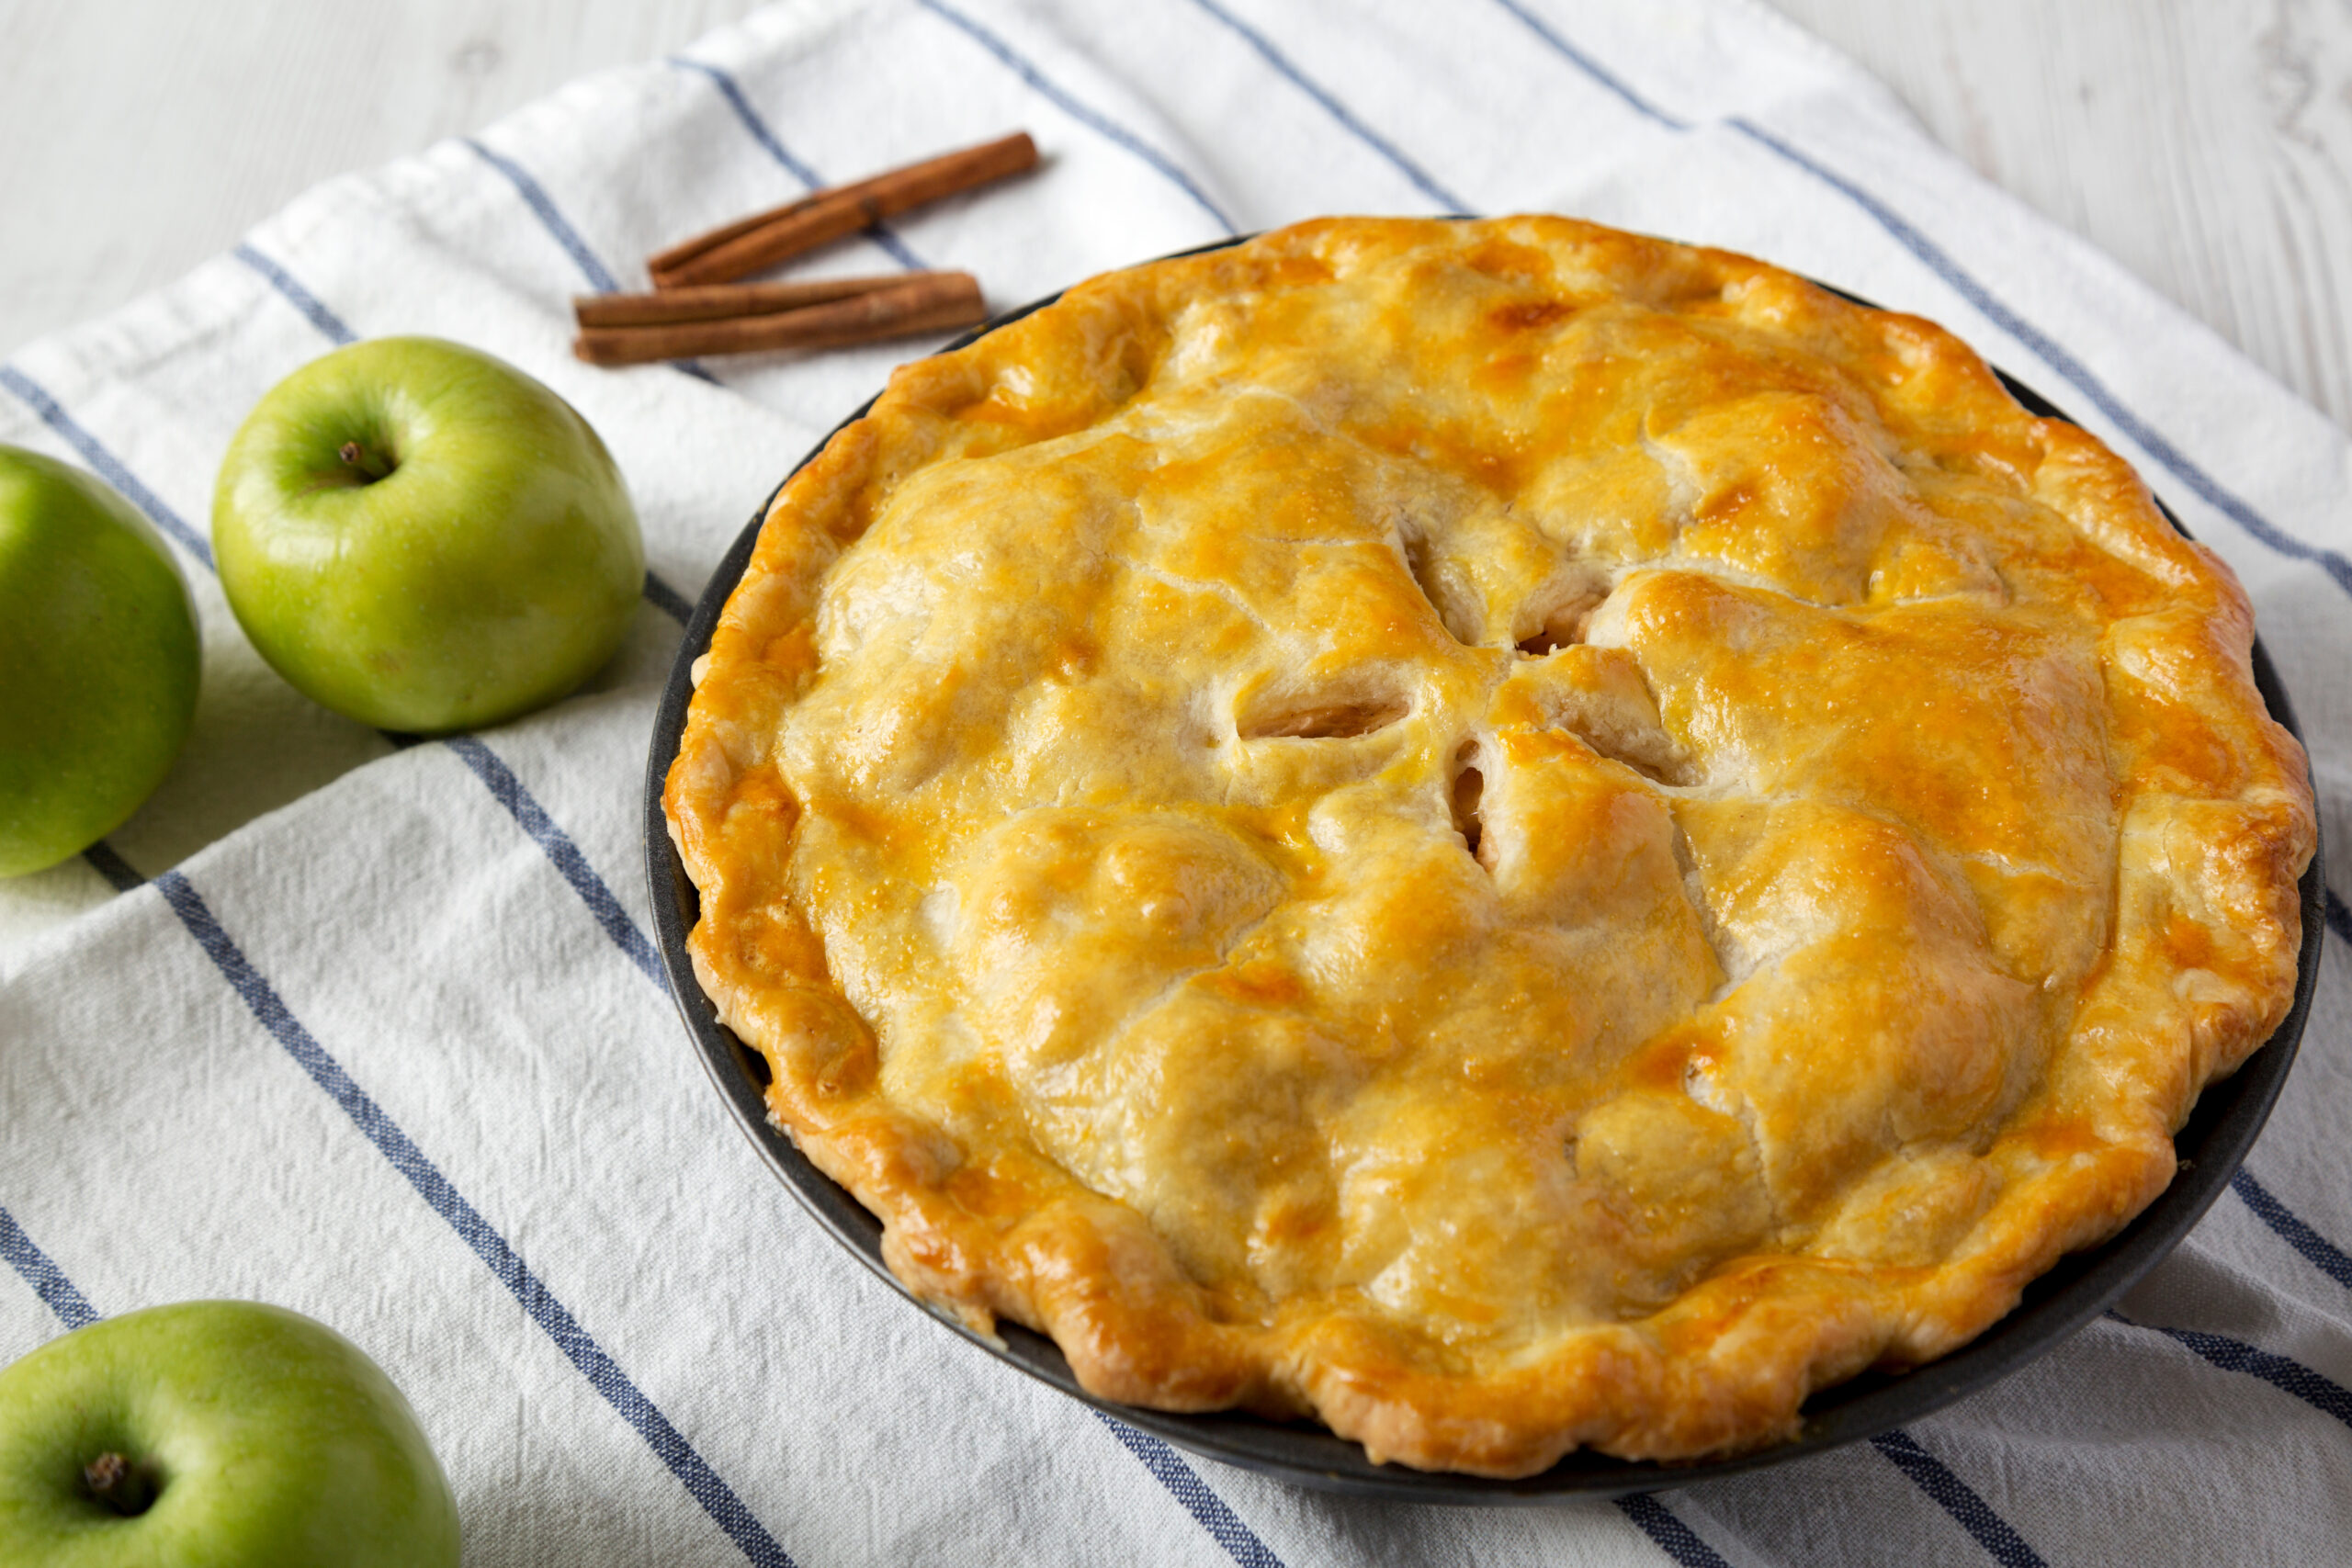
To bake a pie from frozen filling, I add about 15 minutes to the usual time and tent the crust with foil once it is golden. If you would rather thaw, leave it in the fridge overnight. Some liquid will separate out. That is normal, and you just stir it back in. Do not drain it off, that is your thickener.
For a crisp, I skip the thawing entirely. Frozen filling goes into a buttered baking dish, oat topping goes over it, and it bakes at 350 until it bubbles at the edges, usually close to an hour. That is our default Sunday dessert from October through March, usually with whatever is left of the apple cider I make in the slow cooker warming on the stove.
A few things I learned the hard way
Do it in stages. I have an autoimmune disease, and a day spent standing at the counter peeling twenty pounds of apples is a day I pay for afterward. So I peel one afternoon, refrigerate the slices in lemon water overnight, and cook the next morning while Lochlan naps. Splitting it in two takes the same total time and costs me almost nothing. There is no prize for doing it all at once.
Taste your apples before you commit to the sugar. A bag of Honeycrisp in late September is a completely different thing from a bag of Granny Smith. I start at three quarters of the sugar, taste the syrup once the apples are in, and add from there. You cannot take it back out.
Do not skip the salt. Half a teaspoon in a batch this size. You will not taste salt, you will taste apples, which is the point.
Make one more bag than you think you need. Someone will have a baby, or a hard week, or a funeral, and a frozen pie filling with a note about oven temperature is a genuinely good thing to hand a person at the door.
We will go down to Apple Fest this weekend, and Danny will let Lochlan hold an apple bigger than his own head, and Delilah will sleep through all of it on the back of the couch. Then on Monday the peeler comes out.
If you have apples sitting on your counter right now wondering what you are going to do about them, this is what I would do.

