This post may contain affiliate links. If you book or buy through them, I may earn a small commission at no extra cost to you. Learn more.
There’s almost always a pot of something going on my stove, and this time of year it’s usually bone broth. I started making it back when I was learning that food could be a kind of care and not just fuel. I have an autoimmune disease, so rest and real nourishment aren’t extras for me, they’re how I keep going. Bone broth turned into one of the simplest ways to fold both of those into an ordinary week.
I won’t tell you it’s magic. It’s just broth. But it’s warm, it’s cheap, it uses up the parts of things we’d otherwise toss, and there’s something about a long, quiet simmer that fits the way we live out here in the farmhouse. So here’s how I actually make a homemade bone broth recipe, the real way, not the pretty version.
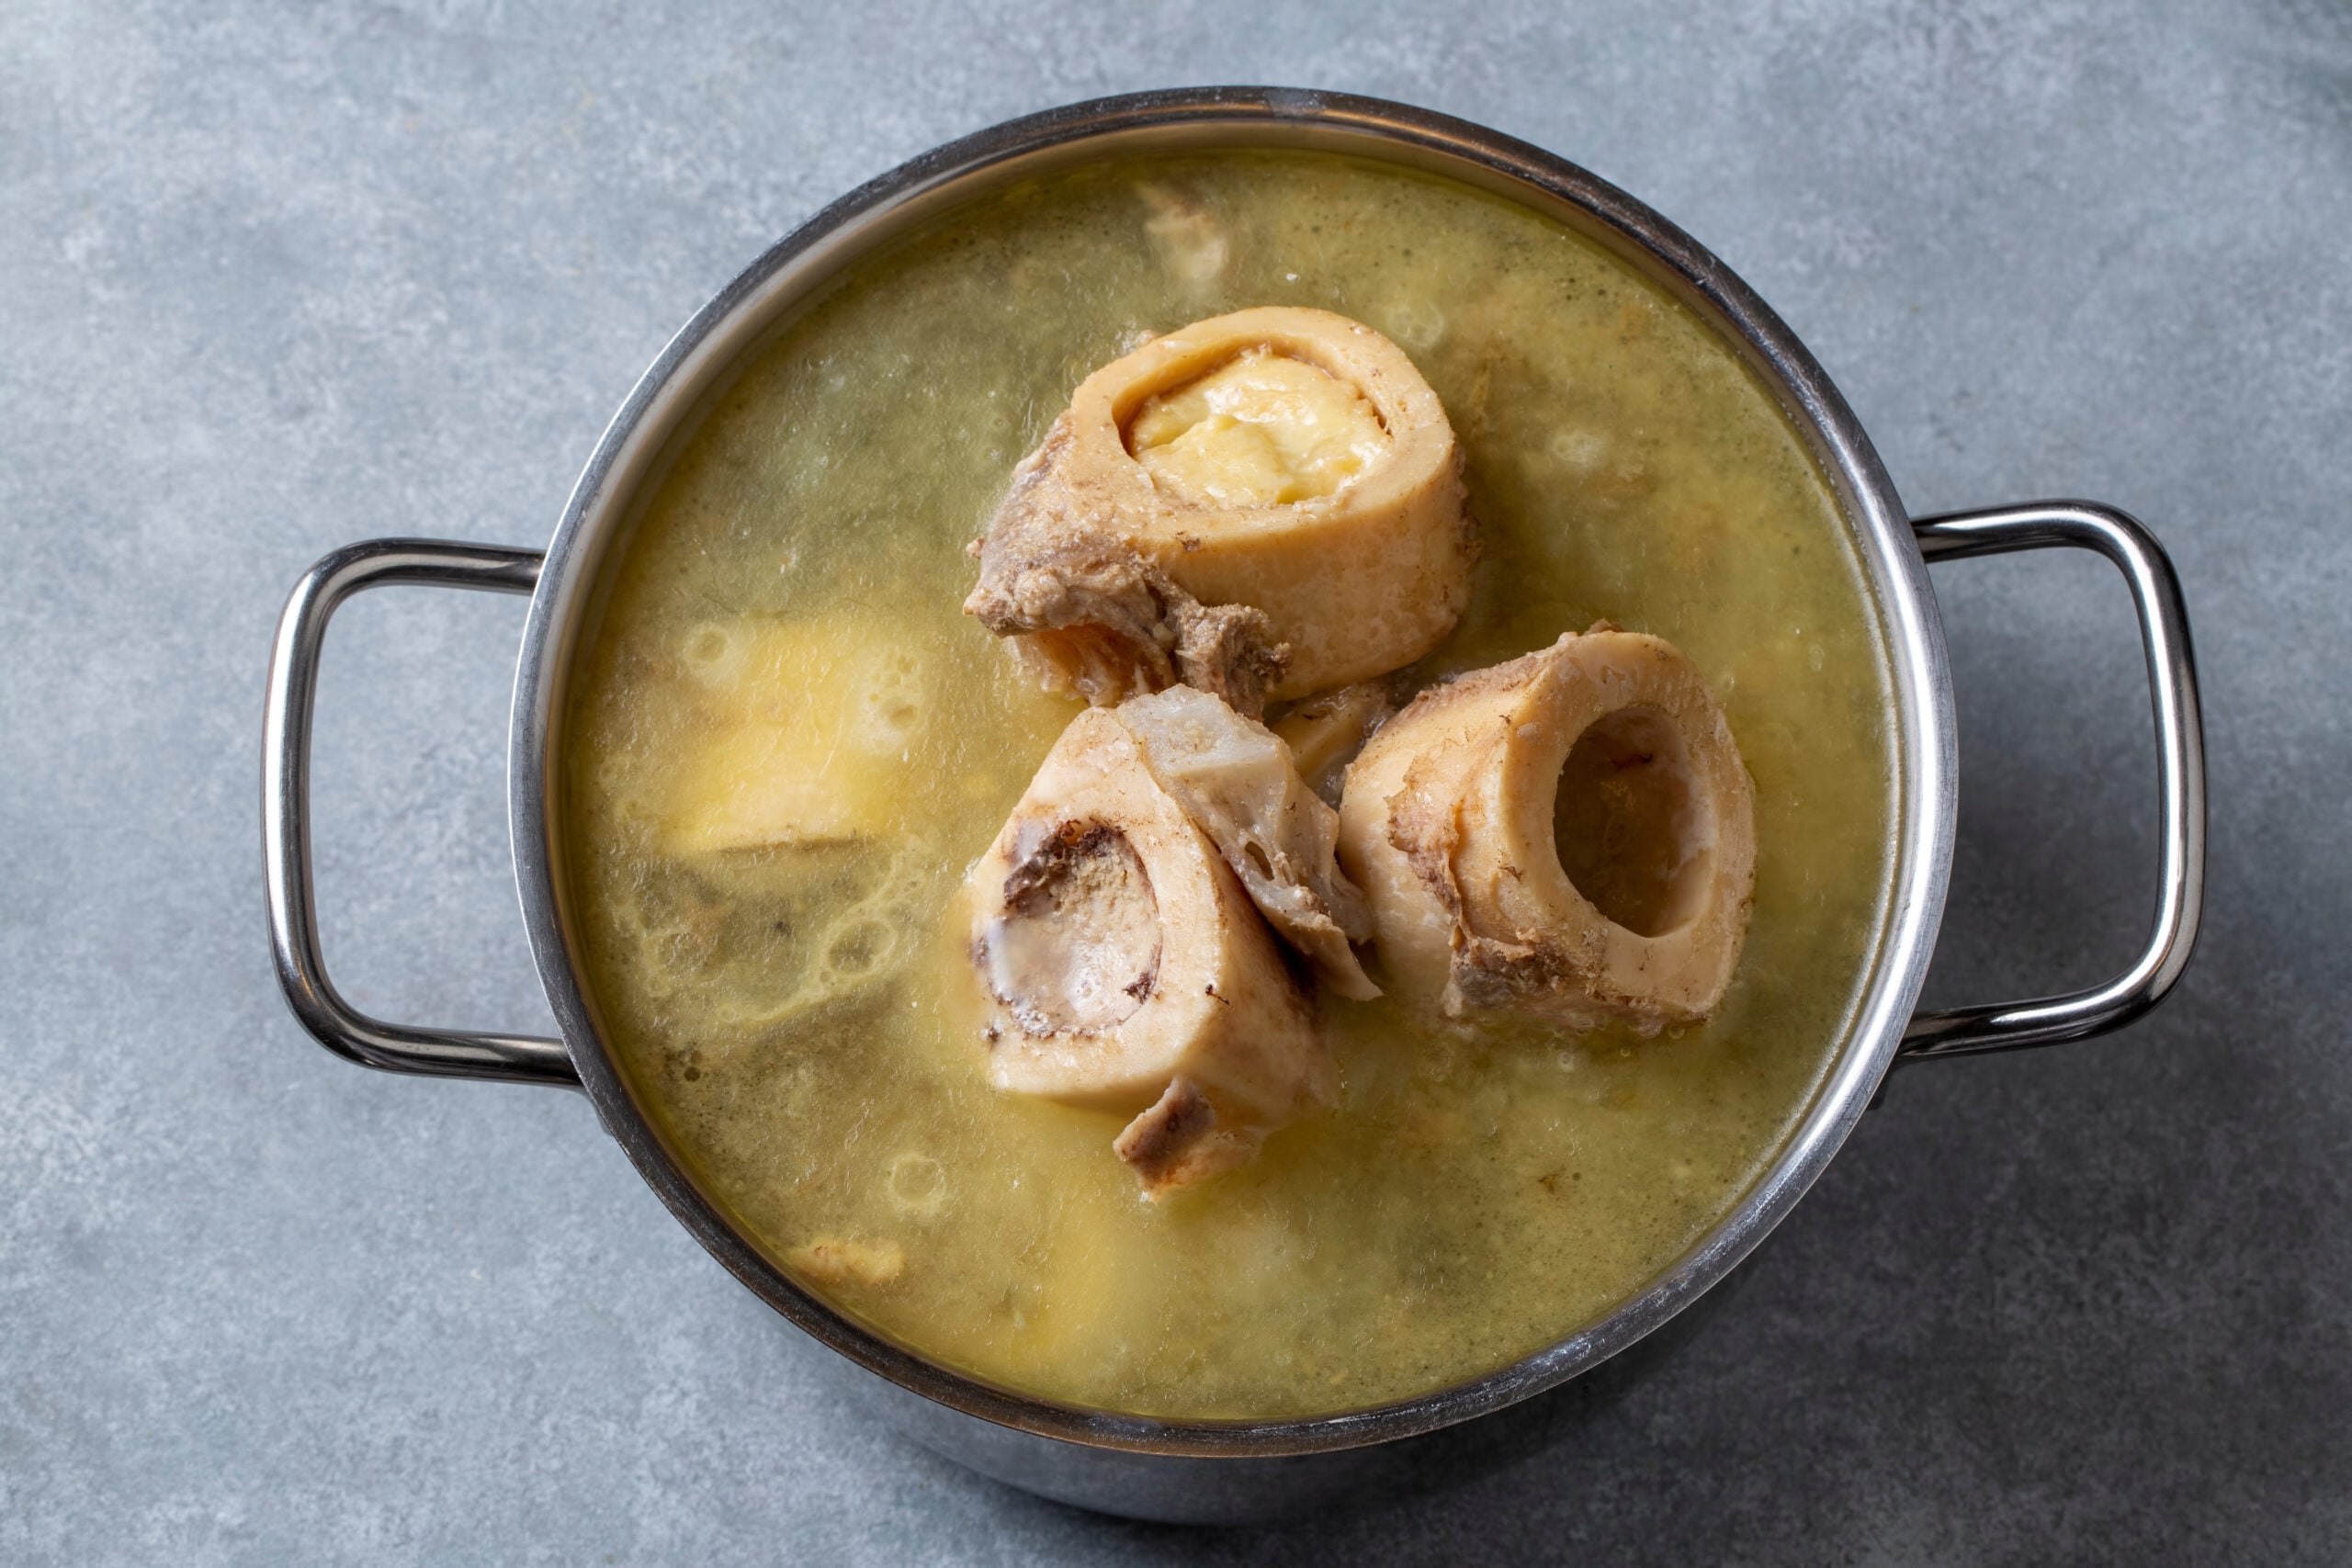
Why I Keep a Pot of Bone Broth Going
The honest reason I started was that it felt like a waste to throw out good bones. We roast a chicken most weeks, and the carcass was going straight in the trash. Then I read that you could simmer those bones down into something worth drinking, and it clicked with how we already try to live. Use what you have. Waste less. Make it from scratch when you can.
The other reason is how it makes me feel. On the weeks my body is asking me to slow down, a warm mug of broth is easy. I don’t have to cook a whole meal to feel like I’ve taken care of myself. Danny drinks it too, usually with a little salt, standing at the counter. Dewey sits right at my feet the whole time it’s cooking, hoping something falls. It does not, but he keeps the faith.
People make big claims about bone broth and gut health, and I’m not here to promise you anything. What I can tell you is that a slow simmer pulls collagen and minerals out of the bones, and the result is rich and gelatinous and genuinely good for you in a quiet, unglamorous way. That’s enough for me.
What You Need to Make Bone Broth
This is a forgiving recipe. You do not need anything fancy. Here’s what I use for a big batch:
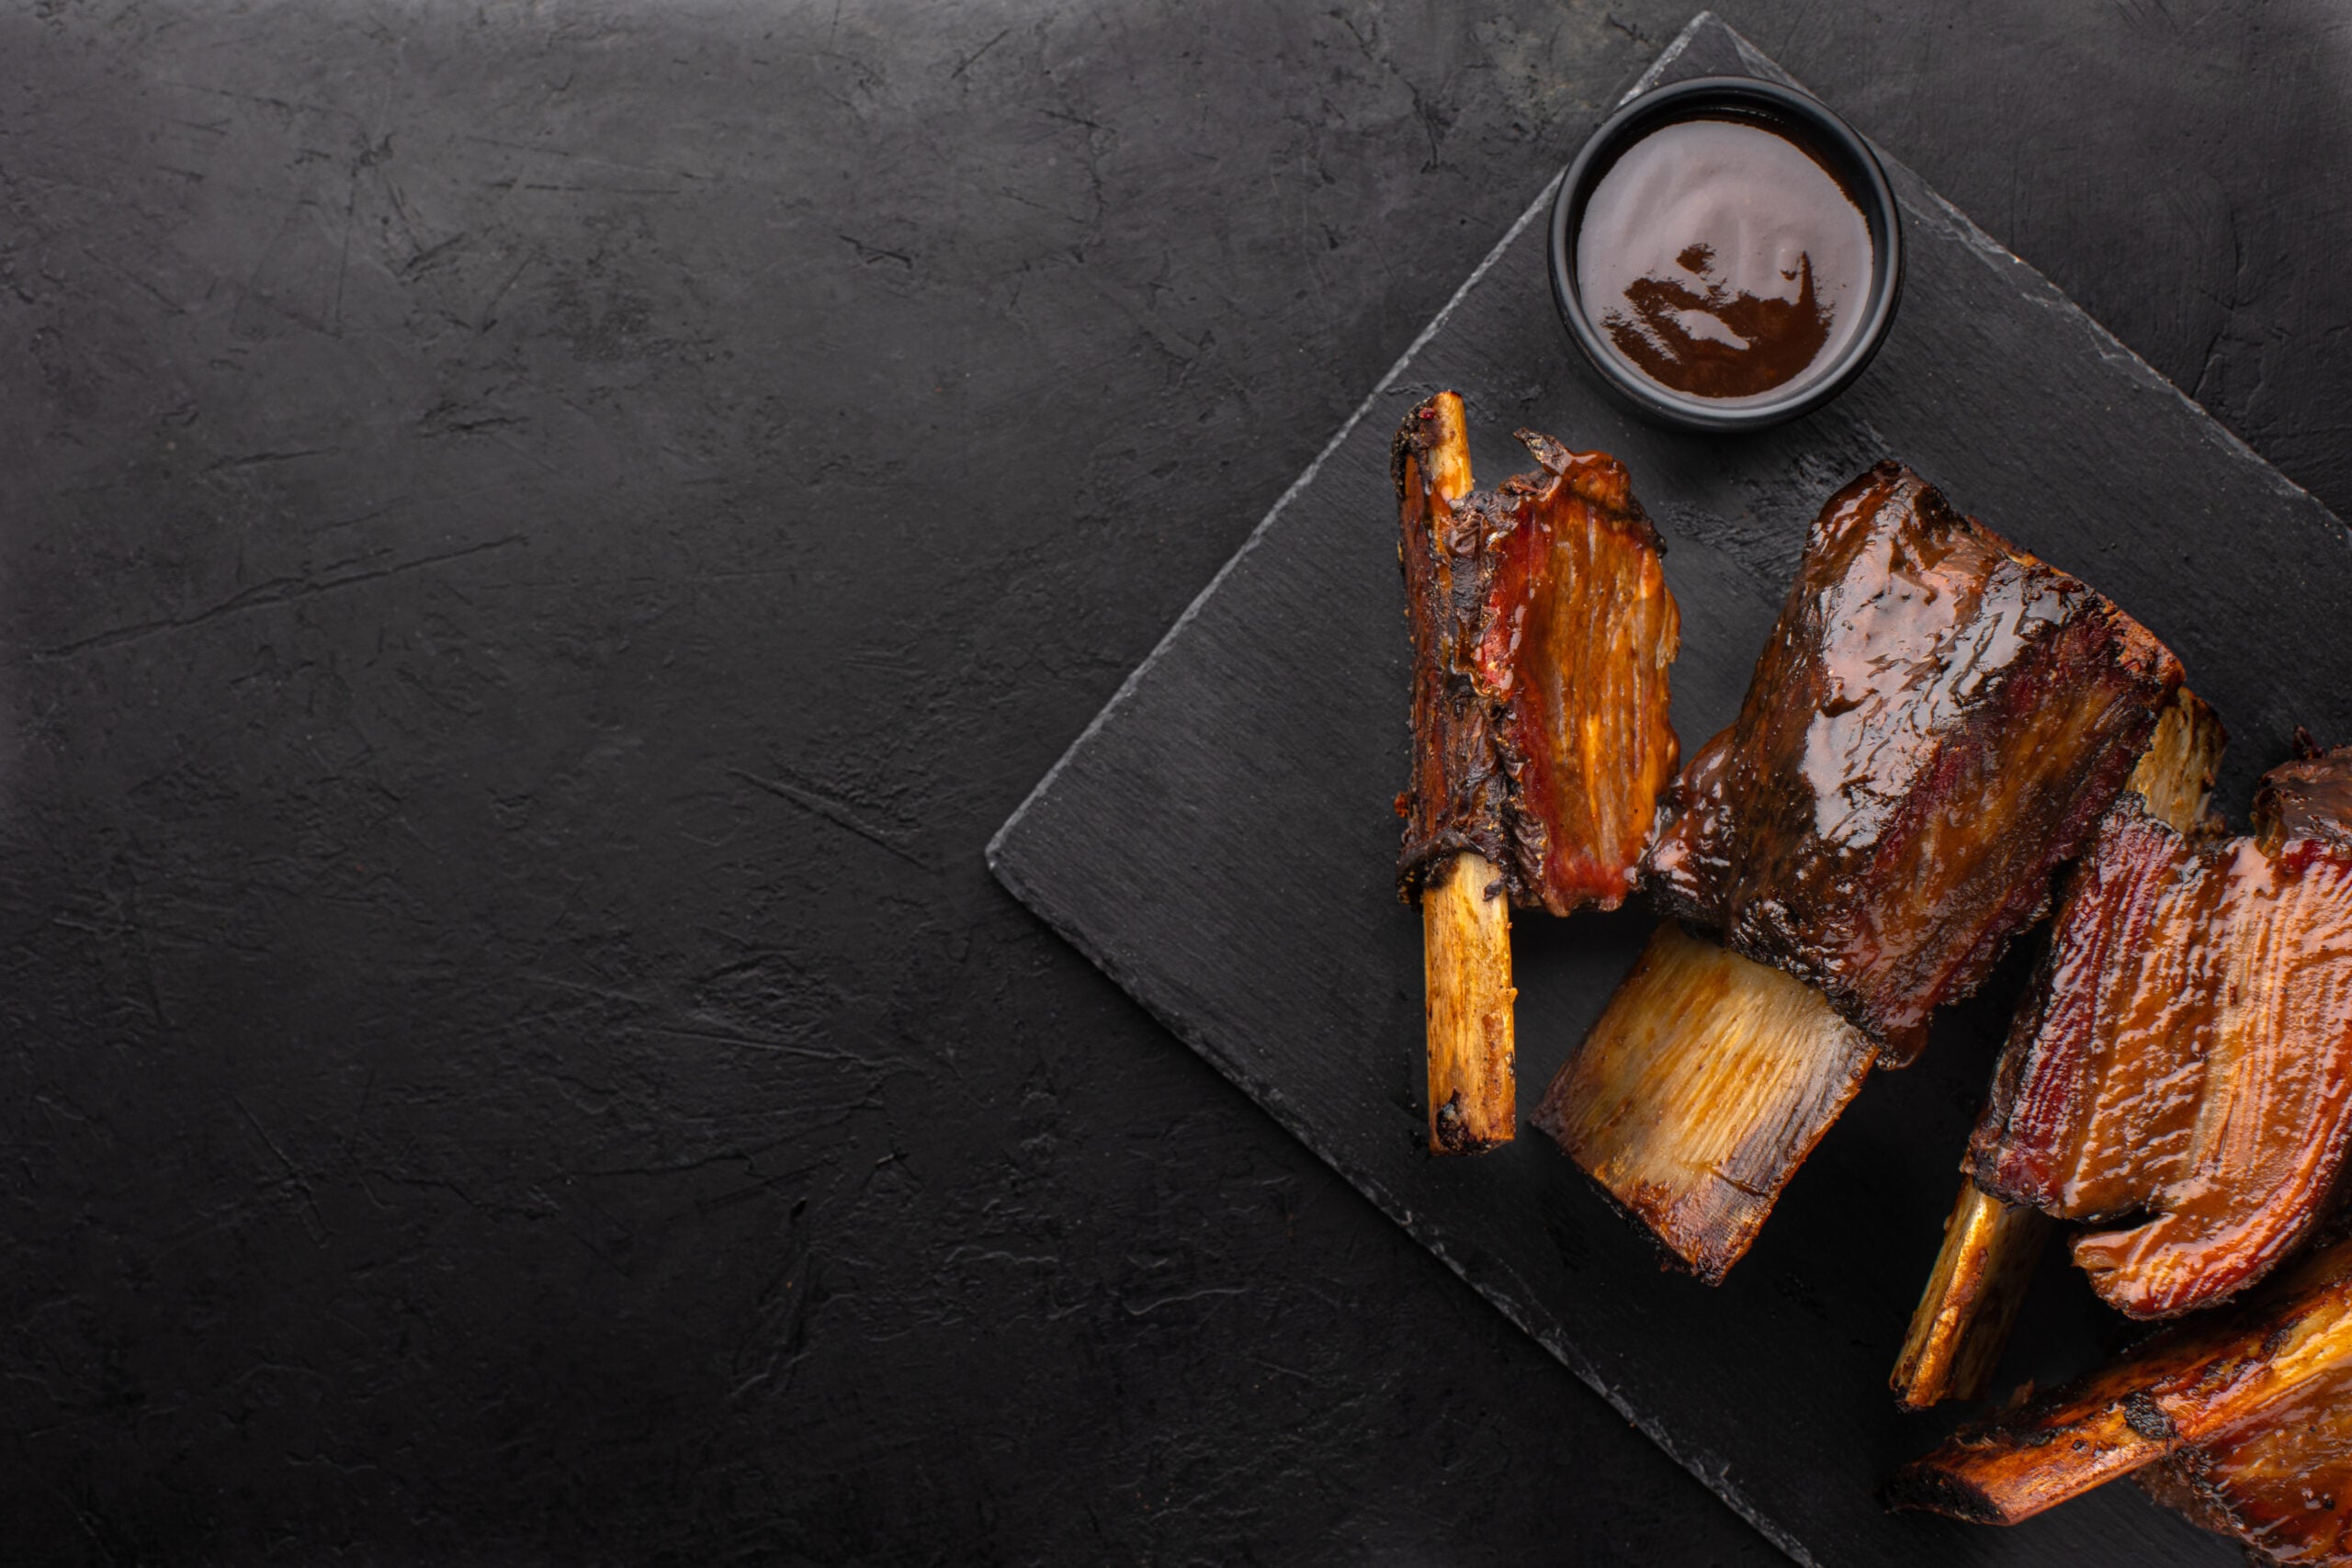
Bones. Whatever you have. A leftover chicken carcass, beef marrow and knuckle bones from the butcher, even turkey bones after the holidays. For beef I roast them first, which I’ll get to. Aromatics and scraps. I keep a bag in the freezer for onion ends, carrot peels, celery bottoms, and garlic skins, and I dump that right in. Fresh works too: a quartered onion, a couple carrots, a few celery stalks. Apple cider vinegar. Just a splash. I use raw apple cider vinegar with the mother, and it helps pull the good stuff out of the bones. A few bay leaves, a spoonful of peppercorns, and salt to taste. Filtered water to cover everything by an inch or two.
For equipment, you really only need a big heavy pot or a slow cooker. I go back and forth between the two depending on the week.
? A few things I use for this
- A heavy stainless steel stockpot for stovetop batches
- An enameled cast iron Dutch oven if you’re making a smaller batch
- A large slow cooker for the hands-off, overnight method
- A fine mesh strainer for a clean, clear broth
- Wide mouth glass jars for storing it in the fridge
As an Amazon Associate I earn from qualifying purchases.
How I Make Bone Broth, Step by Step
If I’m using beef bones, I roast them first. I spread them on a sheet pan at 400 degrees for about 40 minutes until they’re deeply browned. This is the step that gives beef broth that rich, roasted flavor, so I don’t skip it. For chicken or turkey I don’t bother roasting, since the bones are already cooked.
Then everything goes in the pot. Bones, scraps, aromatics, the splash of apple cider vinegar. I cover it all with cold filtered water by an inch or two. If I have time, I let it sit off the heat for about 30 minutes so the vinegar can start doing its work, but that part is optional.
I bring it up to a boil, then drop it right down to the lowest simmer my stove will hold. You want it barely moving, just a few bubbles breaking the surface. In the first hour I skim off any gray foam that rises to the top with a spoon. After that I mostly leave it alone.
On the stovetop I let chicken broth go 12 to 18 hours and beef broth 18 to 24. I know that sounds like a lot. It’s not active time, it’s just time. I start it in the morning and let it go through the day, then turn it off before bed or move it to the slow cooker to keep going overnight. I add the aromatics in the last few hours so they don’t turn bitter. Check the water level now and then and top it off if too much has cooked away.
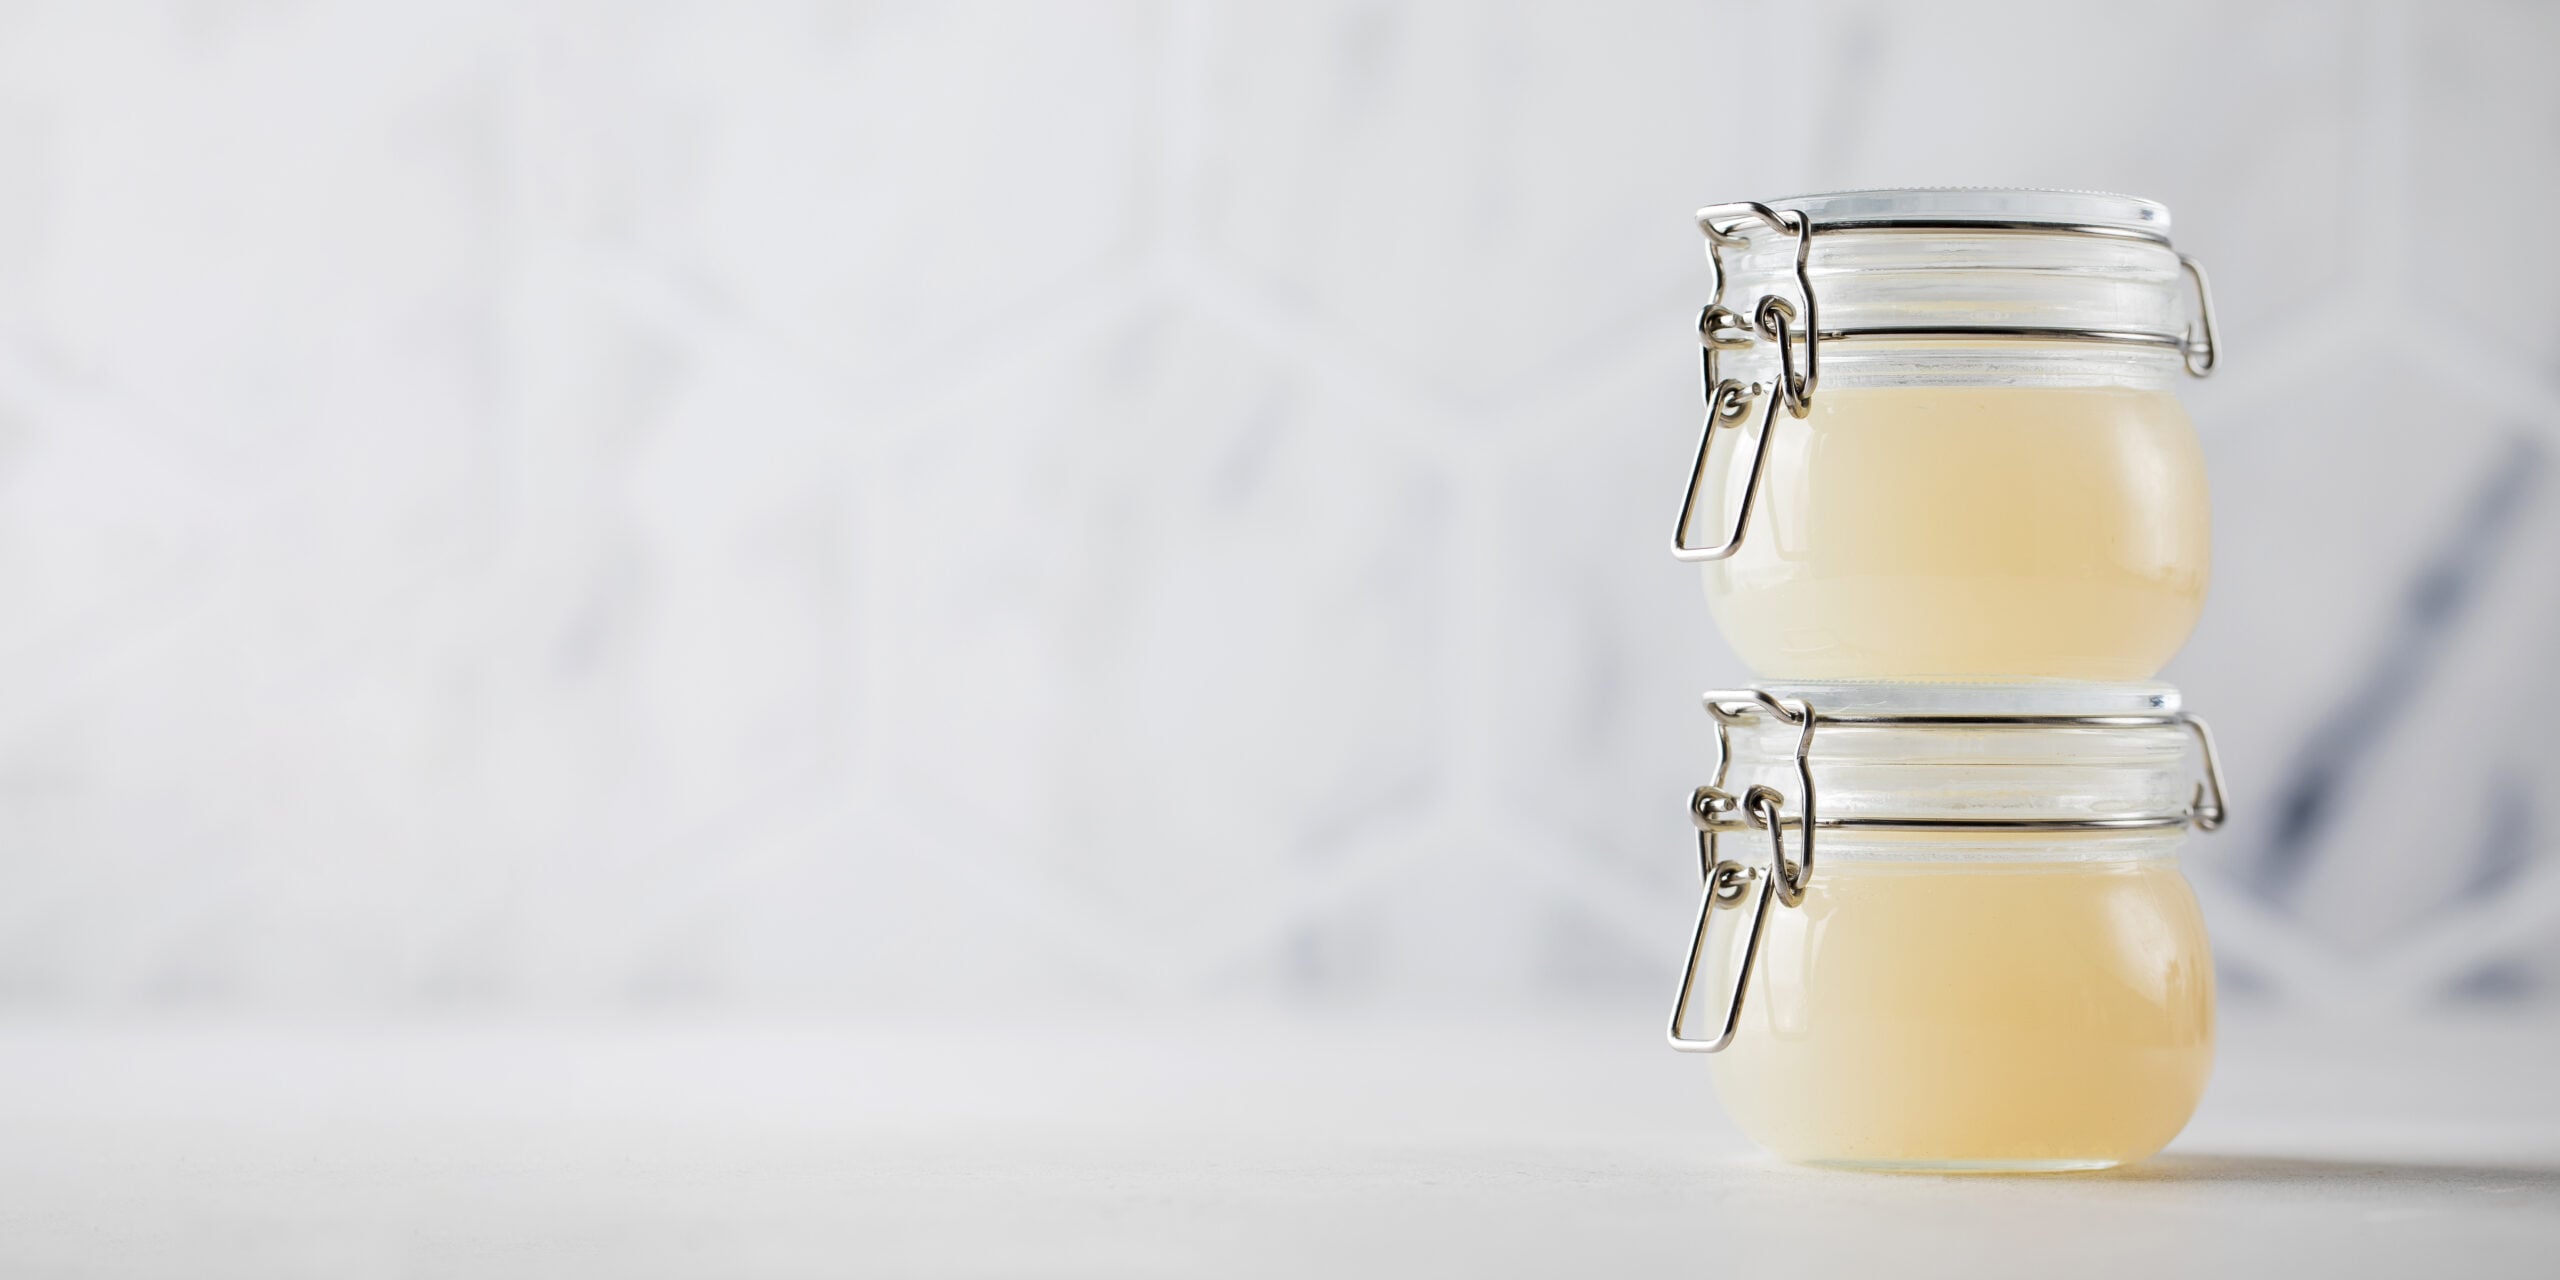
When it’s done, I strain it through a fine mesh strainer into a big bowl, then ladle it into glass jars. It’ll look golden and, once it’s cold, it should firm up like jelly. That wobble means you did it right. I keep it in the fridge for about five days and freeze the rest.
What I Actually Do With It
Most mornings I just warm a mug and drink it. That’s the whole thing. But it also quietly makes everything else taste better. I cook rice and grains in it instead of water. I use it as the base for every soup we eat all winter. It makes a real gravy. When Lochlan started solids, I used it to thin out his purees, and it felt good knowing there was something nourishing in there.
I freeze it in jars and also in a silicone tray so I have little pucks I can drop straight into a pan. Leave room at the top of the jars if you freeze them, because I have cracked more than one by forgetting that broth expands.
On the Weeks I Don’t Have It in Me
Some weeks I don’t have the energy to babysit a pot, and that’s exactly when a warm mug would help most. That’s what the slow cooker is for. I load it up, set it on low, and let it run 18 to 24 hours while I go about my life or lie on the couch with a blanket and Delilah on my legs. No standing over the stove, no skimming every hour.
I used to feel like the from-scratch version only counted if I did it the hard way. I’ve let that go. Making broth in a slow cooker while I rest is still making broth. The pot doesn’t know the difference, and neither does my body when I’m drinking it.
If you’ve never made a homemade bone broth recipe before, start with a chicken carcass you already have. Don’t buy anything. Just try it once and see how it feels to have a jar of it in your fridge. I think you’ll find it’s less of a recipe and more of a rhythm, and it’s an easy one to keep.

